This first thing to do when you want to flatten the sole of a plane is to check whether it needs flattening at all. There are two reasons that you might choose not to flatten the sole 1. It is too far gone to be worth bothering with 2. It is perfectly flat enough for your purposes.
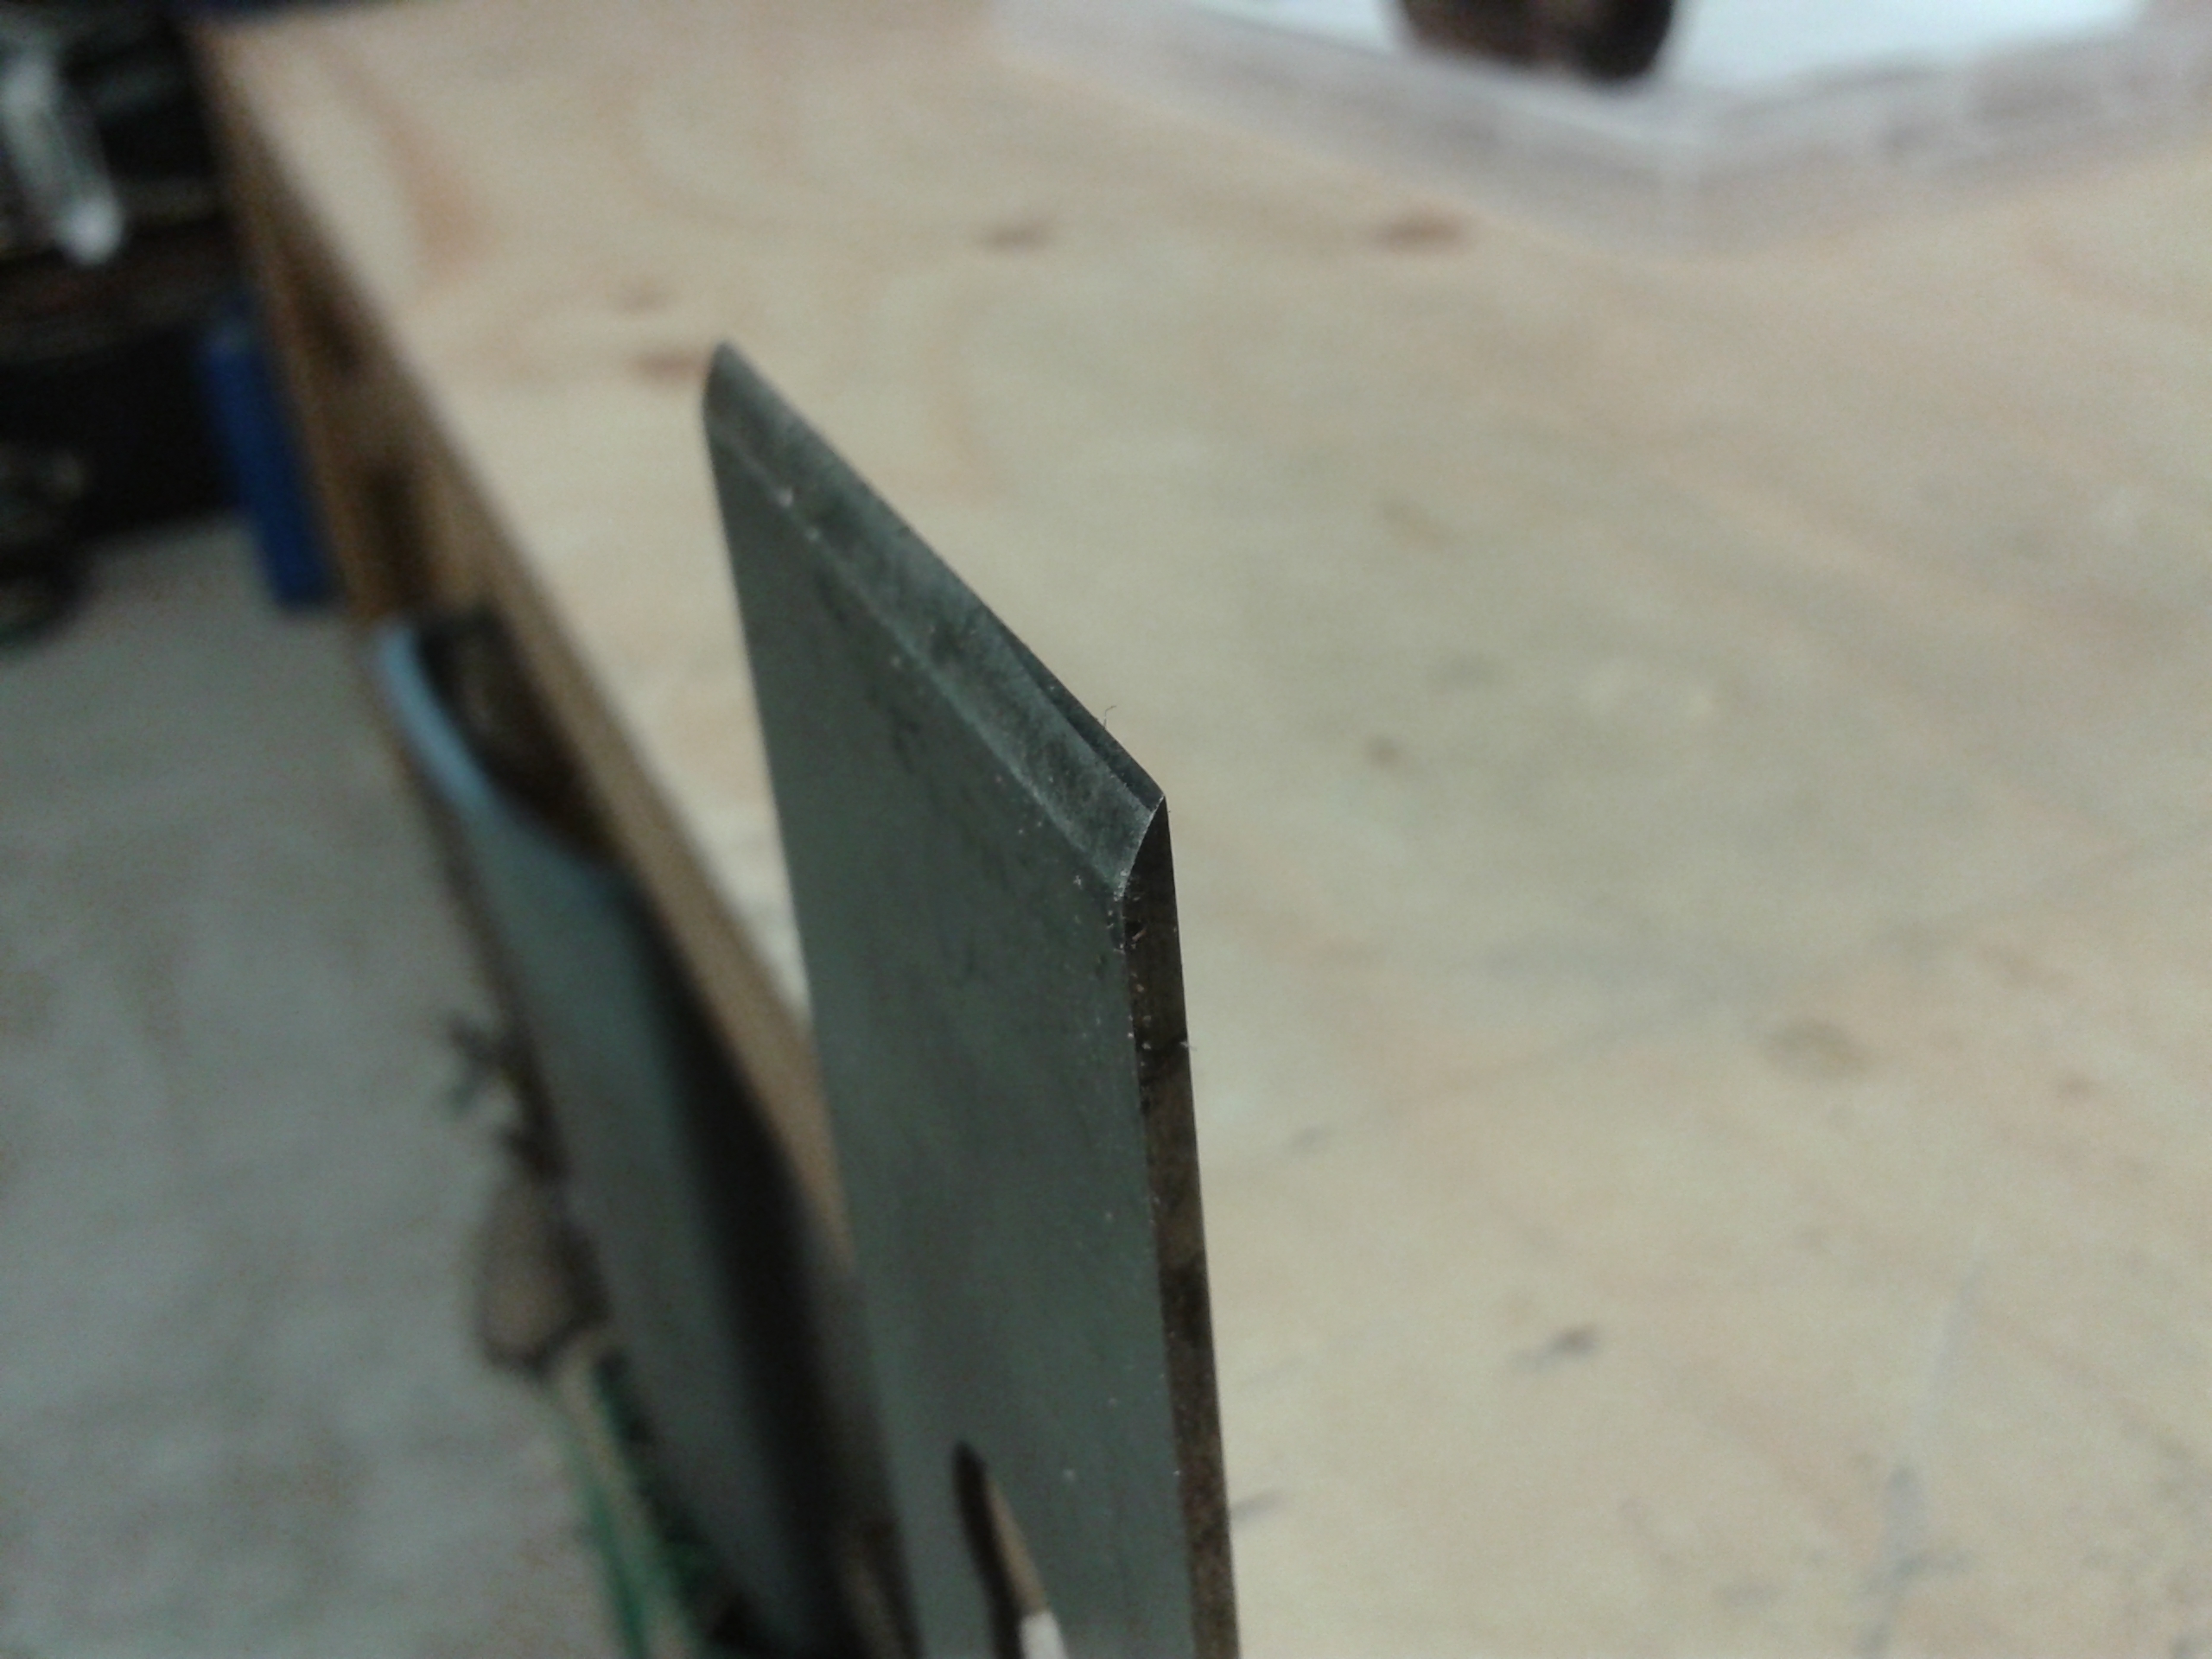
 I employ two tests to before deciding what to do. First, I make sure the iron is fully retracted and I lay the plane sole down on a flat surface (in this case a ceramic tile that I’ve checked with a straight edge). I then use a 5 thou (.127 mm) feeler gauge and se if I can slide it underneath the plane at any point. If I can, then I probably won’t go any further with flattening, I’d consider turning it into a scrub plane, for really rough work (something that I might do with one of my #4s or my#5½).
Continue reading “Plane restoration #2 – Flattening the sole” →


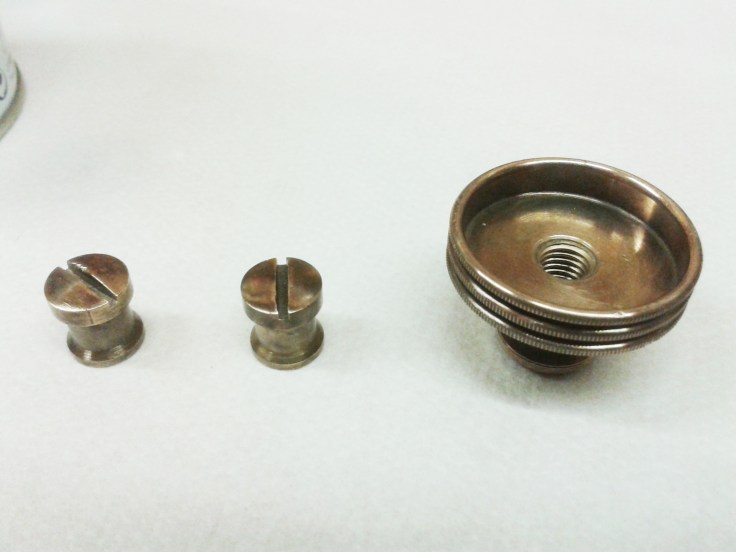
 The screws, washers and fittings of the plane are also in need of a bit of TLC. The steel components had a fair amount of surface rust, as well as a build up of wood dust and grease, especially in the threaded areas. I put them in a bath of white spirit to loosen things up a bit, and I used a small wire brush to clear out the debris.
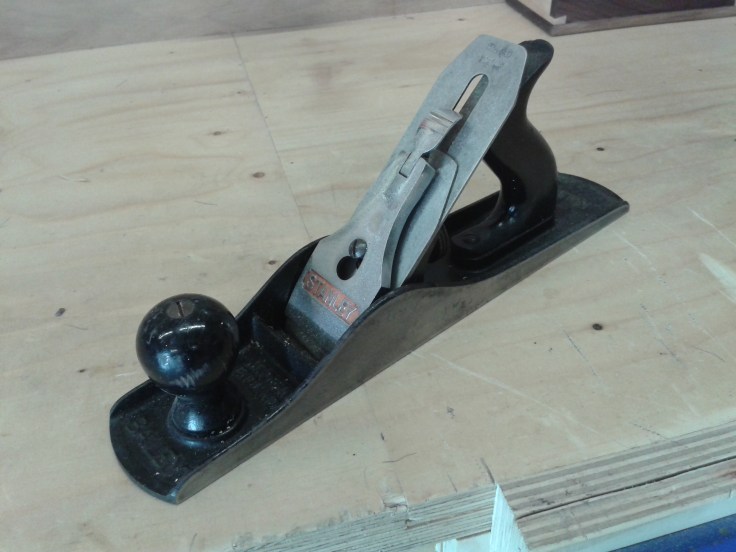
 I began by soaking the plane body and frog in a bath of white spirit for half an hour or so, just to get rid of any oil and grease and loosen all the crud that had built up in the nooks and crannies.