Jewelry Box #1: Inlaid dovetails

20160916_154730

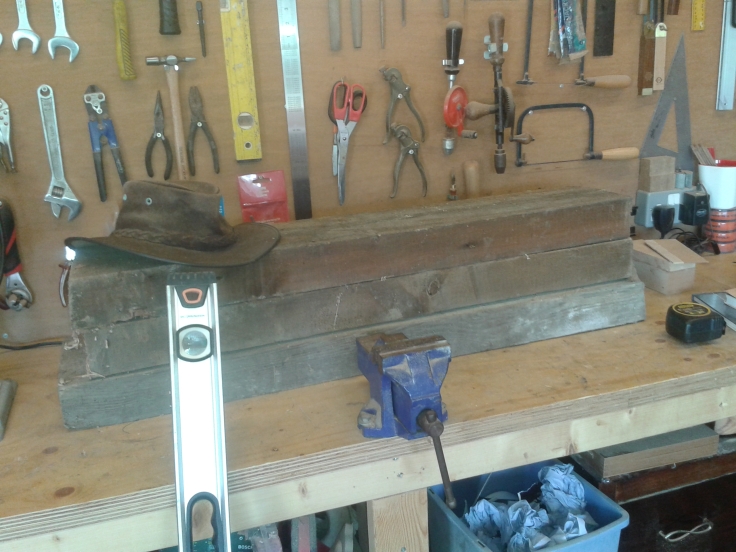
It has been a long old while since I have posted on this blog. Up until a few weeks ago, I had oodles of time in the workshop because I only worked in the evenings. Shortly after I finished my workbench however, I took on a new job during the day. This has meant that my workshop time has been drastically reduced. I’ve still managed to put in some hours here and there, so I thought I’d fire off a series of posts over the next few days, to show off a project that I have recently completed. Continue reading “Jewelry Box #1: Inlaid dovetails”

Workbench #9: Le Bébé Roubo

img_20160921_180803

It’s time to sign off on another project at Goatboy’s Woodshop – I declare the workbench finished!

This, the final post in this series, will be a bit picture heavy because there’s not really much else to say. Continue reading “Workbench #9: Le Bébé Roubo”

Workbench #8: Leg vice part deux

20160828_155044

Whilst I was on holiday in France we stayed near a little village called Le Bugue, and nearby is an excellent little theme park called Le Bournat. The theme is early 20th Century and it is basically a reconstructed village circa 1900; with a school, farm, fairground, bakery, windmill, saw mill, restaurant, tannery, forge, apothecary and so on. Continue reading “Workbench #8: Leg vice part deux”

Workbench #6: Project shelved

20160802_162449

Hello fellows. I’ve been away for a couple of weeks, touring around France with the family, but I’m back now and ready to continue with the saga of the workbench build. When I last posted, I had got to the point in the story where the bench itself was basically finished, but not particularly functional. The next step was to add a shelf under the bench to store tools etc. during a project. Continue reading “Workbench #6: Project shelved”

Workbench #4: Rage quit (almost)

rage
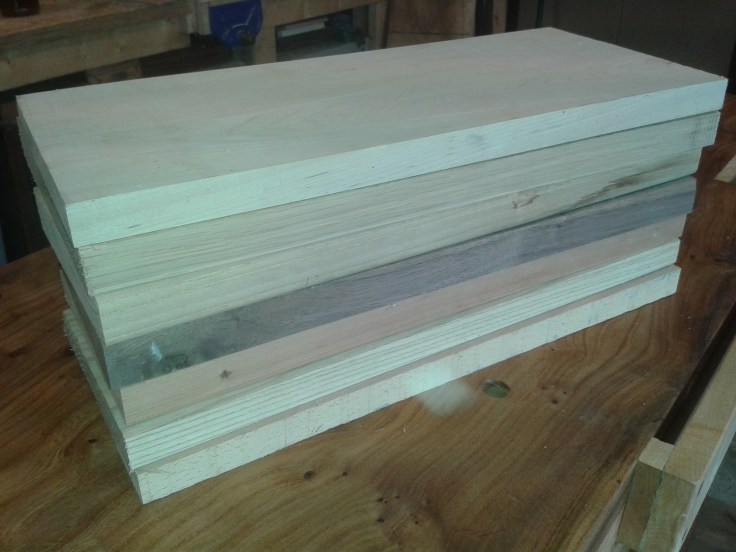
I feel at the outset of this post that I ought to offer up some apologies. Firstly, I must apologise to anyone who happened to be in the vicinity of my workshop around the time that this post covers. Secondly, to you dear reader, I apologise because I didn’t take any photographs of the glueing up, for reasons that will become clear.

Continue reading “Workbench #4: Rage quit (almost)”

Workbench #3: Getting there

20160721_143912

The last part of the main construction was the four stretchers. I marked out for the mortise and tenons by clamping the stock to the leg and running a knife down to mark the shoulders.

Continue reading “Workbench #3: Getting there”

Workbench #2: Chunky legs, chunky joinery

20160710_160628

Late last year I put in a few days labouring work for a friend who was demolishing an old timber house so that he could build on the site. A lot of the timber was rotten, and he was saving most of the good stuff for his wood burner, but he let me have a couple of pieces and I earmarked them for my bench legs.

Continue reading “Workbench #2: Chunky legs, chunky joinery”

Treasure Chest #1 – Stock prep and joinery

20160611_155447

Whilst I was in the middle of the boat project, a friend approached me about commissioned a piece for his daughter’s birthday. The project had to wait a while because the deadline for the boat was looming, and I had a couple of other bits and pieces to finish up for a crafts fair, but as soon as I could I got started and that is what I have been doing for the last couple of weeks (as well as painting the house and cutting all the roadside hedges!) Continue reading “Treasure Chest #1 – Stock prep and joinery”

Boat Bookcase #4: Titivation

DSCF9948

On balance I would say that the thing’s been a huge success. As a process, that is, as a process. Whether the product has anything to recommend it is, naturally, for you to say.”

“The Hippopotamus”, Stephen Fry, 1994

Continue reading “Boat Bookcase #4: Titivation”

Boat Bookcase #3: Smartening up


20160511_130224

With the main structure of the bookcase assembled it was time to work on some additional features to make it look a bit more ‘boaty’. I decided to use walnut for this, and I began by making a stem to define the bow  I started by chiseling out a ‘v’ shaped stopped dado into a piece of walnut so that the stem could fit onto the bow and hide the screws that hold the sides together. Continue reading “Boat Bookcase #3: Smartening up”

Blog at WordPress.com.

Up ↑

%d bloggers like this: