
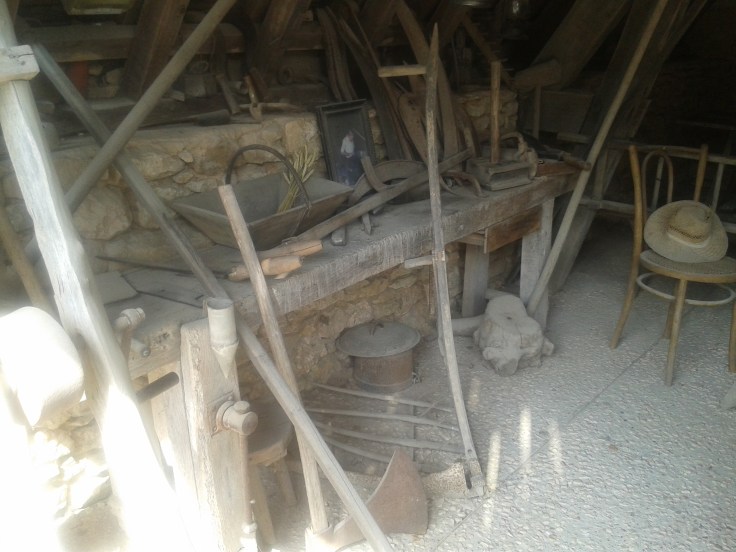
Whilst I was on holiday in France we stayed near a little village called Le Bugue, and nearby is an excellent little theme park called Le Bournat. The theme is early 20th Century and it is basically a reconstructed village circa 1900; with a school, farm, fairground, bakery, windmill, saw mill, restaurant, tannery, forge, apothecary and so on.  It was a great day out and although I spent a bit of time watching the woodturning, I was particularly taken my the old carpenters shop, in which place could be found an old woodworking bench with a well worn leg vice. Seeing it almost made me wish I wasn’t on holiday so that I could get back to working on my leg vice. Almost, but not quite.

My last post covered the project up until I went on holiday. As soon as I got back I threw myself back into the project, beginning with the parallel guide. I chopped out a through mortise in the chop and then dimensioned up the guide itself.

A quick dry fit later and I was ready to mark out the array of holes for the bracing pin, before drilling and slightly countersinking them. I also shaped the end of the guide, just for looks.
The guide is dimensioned so that it is just a bit smaller than the through mortise in the leg, about 1/32″ gap on each side, so that it can slide in and out smoothly.


Next it was time to shape the chop, to reduce its weight while retaining enough meat at the business end to maximise the clamping area. The shape of the chop doesn’t really matter – I went with the one from ‘The Plans’ – and it doesn’t really need to extend much lower than the parallel guide. This too is just for looks.

Once the basic shape was there, I cleaned up with files and rasps and added a chamfer around the edge with a spokeshave. Then I moved on to the business of joining the two components together. As stipulated, I went for a wedged mortise and tenon joint, which is a first for me. I relieved the edges of the mortise slightly and then made my wedges (walnut, just for contrast). I then glued the joint in place and used a chisel to split the tenon about ½” from each end.


I smeared some glue on the wedges and hammered them in. I didn’t realise it at the time, but one of them went in further than the other before the joint closed up, and so when I planed it flush, I noticed that one of the wedges looks bigger than the other. I wish I had used oak wedges now as it wouldn’t have been so noticeable, but hey ho, the joint is strong and that is the main thing.
Finally, I applied three coats of oil/varnish to the whole sub-assembly, and had a bit of a tidy up around the workshop in readiness for the completion of this project…
…which will be the subject of the next, and final, post for this project.


Leave a comment