
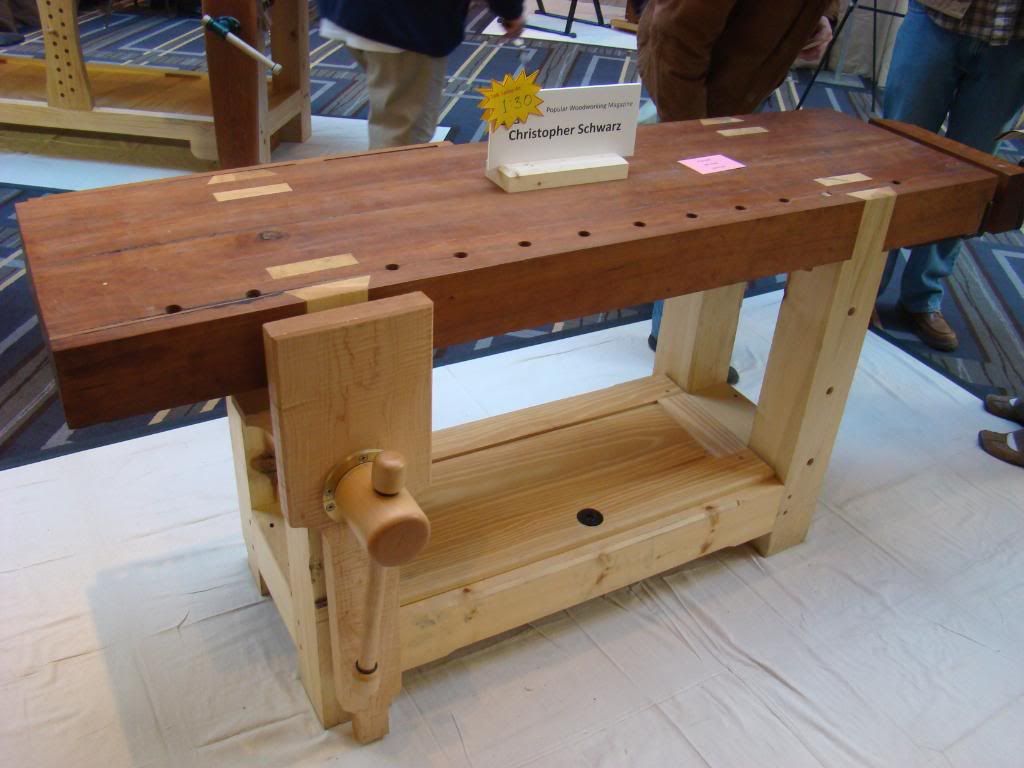
For some time now, I have wanted to build myself a proper woodworking bench. Nothing to big – I haven’t got the space – but a small, solid bench, along the lines of the Petite Roubo. I’m thinking about 5 feet long, 18 – 20 inches wide and just shy of 3 feet tall. The top needs to be about 4″ thick and the legs roughly 3″ by 5″. The top would be attached to the leg assembly with through dovetails and mortices, and there would be stretchers on all four sides supporting a low shelf. I also want to make and install a leg vice, and conceivably a sliding dead man, although the bench may be too small for that. I already have a vice that would do as an end vice and I would drill and array of dog holes along the front edge of the top. I don’t want a tool tray, but I might make a small rack to go along the back edge, to keep chisels and squares etc. safe while working.
I still have n’t scratched together all of the necessary materials. I have three large pieces of soft wood, about 7″ by 3″ by 5′, and I also have a large slab of elm, about 1½” by 20″ by 5′. Laminating these together would give me a decent bench top – I just need to source some timber for the legs and stretchers.
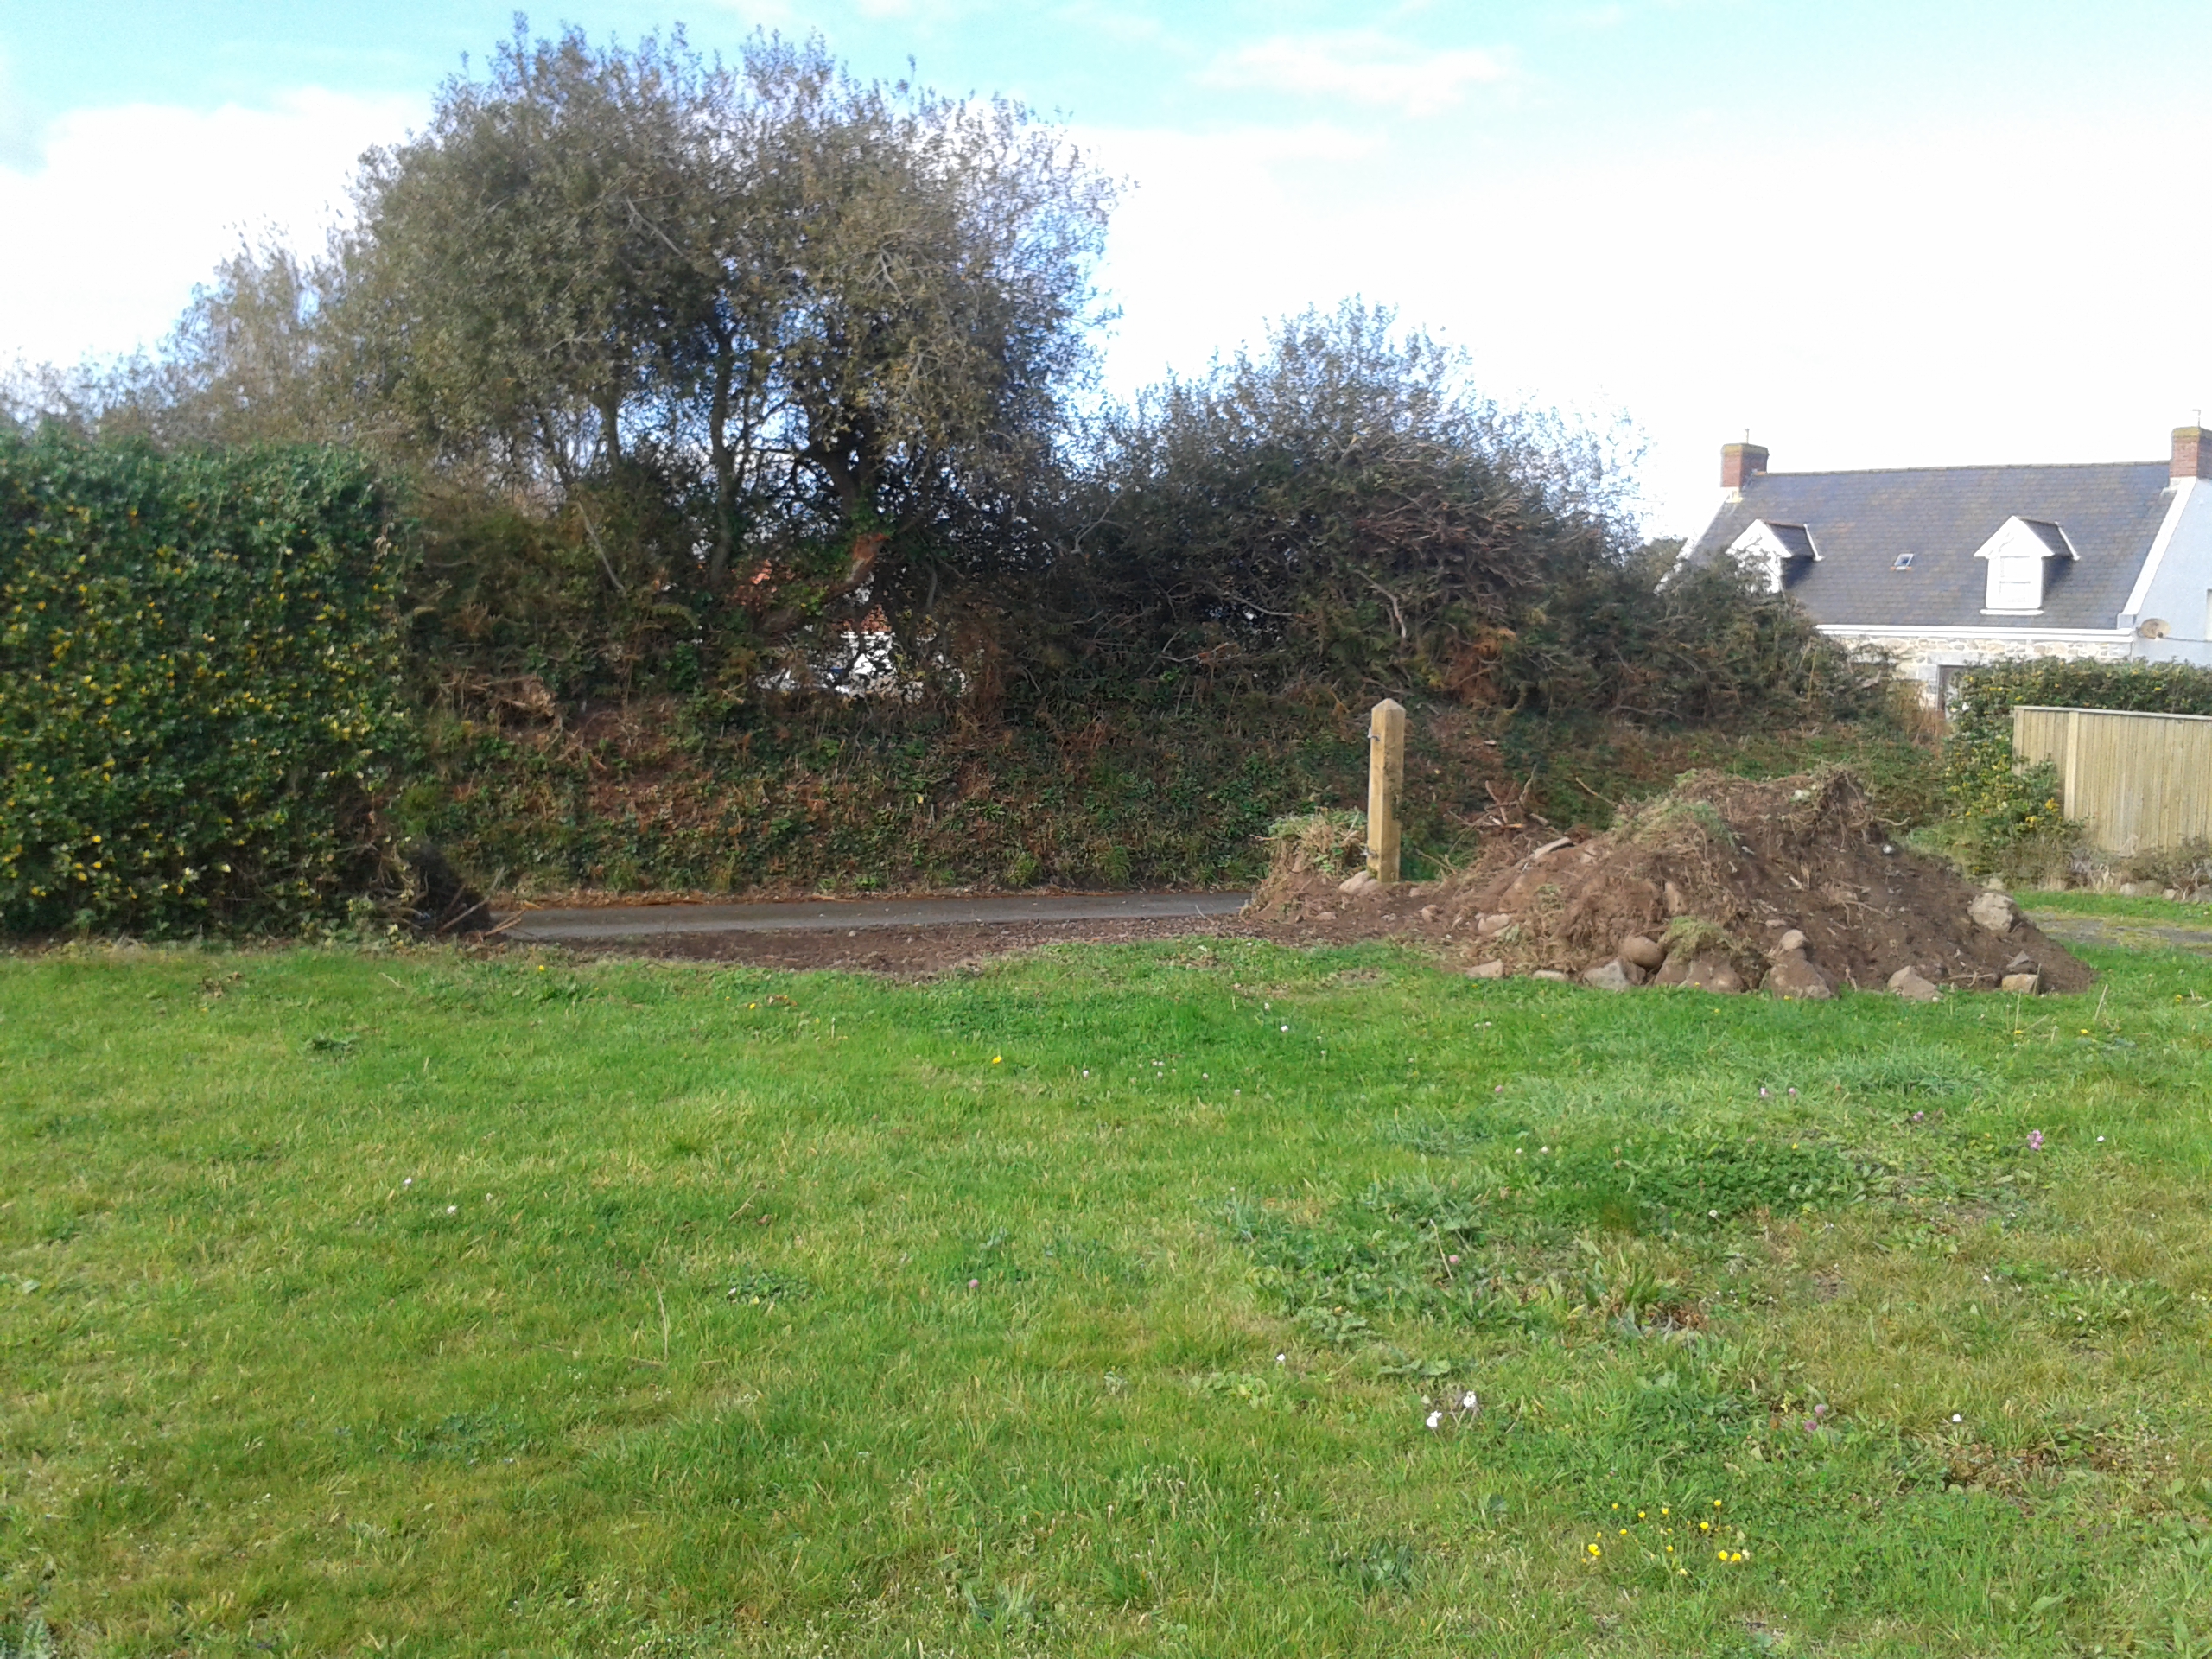
The reason I have been busy is that I want my bench to sit under the window of my workshop. Unfortunately, as you can see, that space is currently occupied by pesky bicycles of all things. I’ve said from the start that these dratted things have no place in my workshop, but I was out-voted by Goatgirl and the kids because they have no where else to live (the bikes that is).
The only way that I could free up the desired space would be to build a bike shed first. Luckily, when I built my workshop I made provision for this by leaving a gap between the workshop and the house. Unfortunately, before I could start on the bike-shed, there was another job to do.
When I applied for planning permission to build my shed, a requirement of the application was to extend the domestic curtilage of the house, so that the workshop would be on the house property, and not on the garden property, which is designated for horticultural use only. Unfortunately, when the permission for the workshop was granted, it came with a caveat: the garden had a gateway onto the road which, once the curtilage was extended, was now on the house property, and according to reasoning too damn triksy for me to follow, this could not stand. The upshot of this is that I have to move a 5 metre gateway from one side of a gate post to the other. Bloody red tape! I’d like to strangle them with it!
 So, in order to build my bench, the first order of business was to hire a chap with a digger! He removed the hedgerow for the ‘new’ gateway, and dumped it to one side. Then, I built this year’s winner of the “Worst Looking Wall Award” (I didn’t take any pictures) that would be the core of the new hedgerow that would block up the ‘old’ gateway, before embarking on a back-breaking few days of separating the spoil heap into earth for back fill and to level the garden, and granite which I had to barrow to the top of the garden.

Any passersby who asked what I was doing got waylaid for an inordinate amount of time while I spleen vented about the inequities of our planning and development laws and directed hatred and fury towards the bloody-minded bureaucracy of civil servants. I probably invoked Kafka and Orwell at them while they smiled nervously back at me before making their excuses and hurriedly leaving me to it. I was raging.
 Anyway, with the boring groundworks out of the way, I could turn my attention to the altogether more pleasurable task of building a bike-shed. I first dug out the area slightly and constructed a timber frame from treated joists, tied to both the house and the workshop’s concrete base. This was then covered with decking and then I built two stud walls, front and back. The roof is simply three rafters, and half a dozen battens topped with translucent corrugated sheet.

The walls were finished with feather-edge board to match the workshop, and it was time to hang the door. Finally, I put in the wiring for the lighting, which consists of two fluorescent tubes on the inside and a halogen light on the outside. At the same time I was able to conceal the main feed to the workshop which was previously just dangling across from the soffit on the house.
So…
BISH!
BASH!
BOSH!
…and my shed is now ready to receive a workbench! Hurray!

Having said that,…
…the is project might have to wait for the new year….
…I might be a little distracted with my new toy you see….
…I’ll post properly about this in due course, but…
…for now,…
…let me just say,…
…that for goatboy,…
…CHRISTMAS HAS COME EARLY!


A thought on the 4 inch thickness and one low bench. I have had the same main workbench for thirty years, it is 36 inches wide by 72 inches long and is in the center of my small shop area. Originally the top was 1-1/2 inches thick, but about eight years ago I doubled the thickness of the top to 3 inches total. I have never wanted a longer bench and never saw any need for additional thickness over 3 inches (but I do think loosing 8 inches of width and gaining the floor space would be OK). After working with the 3 inch thick top I really don’t see any need to have any additional thickness. Chopping mortices typically takes place over a leg and with 3 inches of thickness there is plenty of area to carry the impact without bouncing. Three inches is also fine for bench dogs and holdfasts. I have a higher joinery bench under a window, and after building it I find I spend 80% of my time working at it with the main bench behind me. The joinery bench is 24 inches deep with a tool rack on the wall. I would not want a deeper bench at a wall, but anything less than 20 inches sounds a little narrow. The main bench height is 1 inch below my wrist, the joinery bench height is 2 inches below my elbow. I really like having both heights and like working between the two benches. The project I am working on sits on one bench, and I can put my active tools on the bench behind me. After working with these two heights for several years I would try hard to include that option in any wood workshop.
LikeLike
I have an Ulmia bench, which appears to have about 3&1/2″ thickness but it’s actually only the front few inches of the top. Most of it is barely 1&1/4 ” thick. Like JAS says, I only work along the front edge and only chop mortises near the legs, so thickening up the while top would be a waste. I can see it makes sense to have solid material for the legs to go into but for working, I can’t see 4″ being a necessity. I like being able to move it myself when I need to.
LikeLike
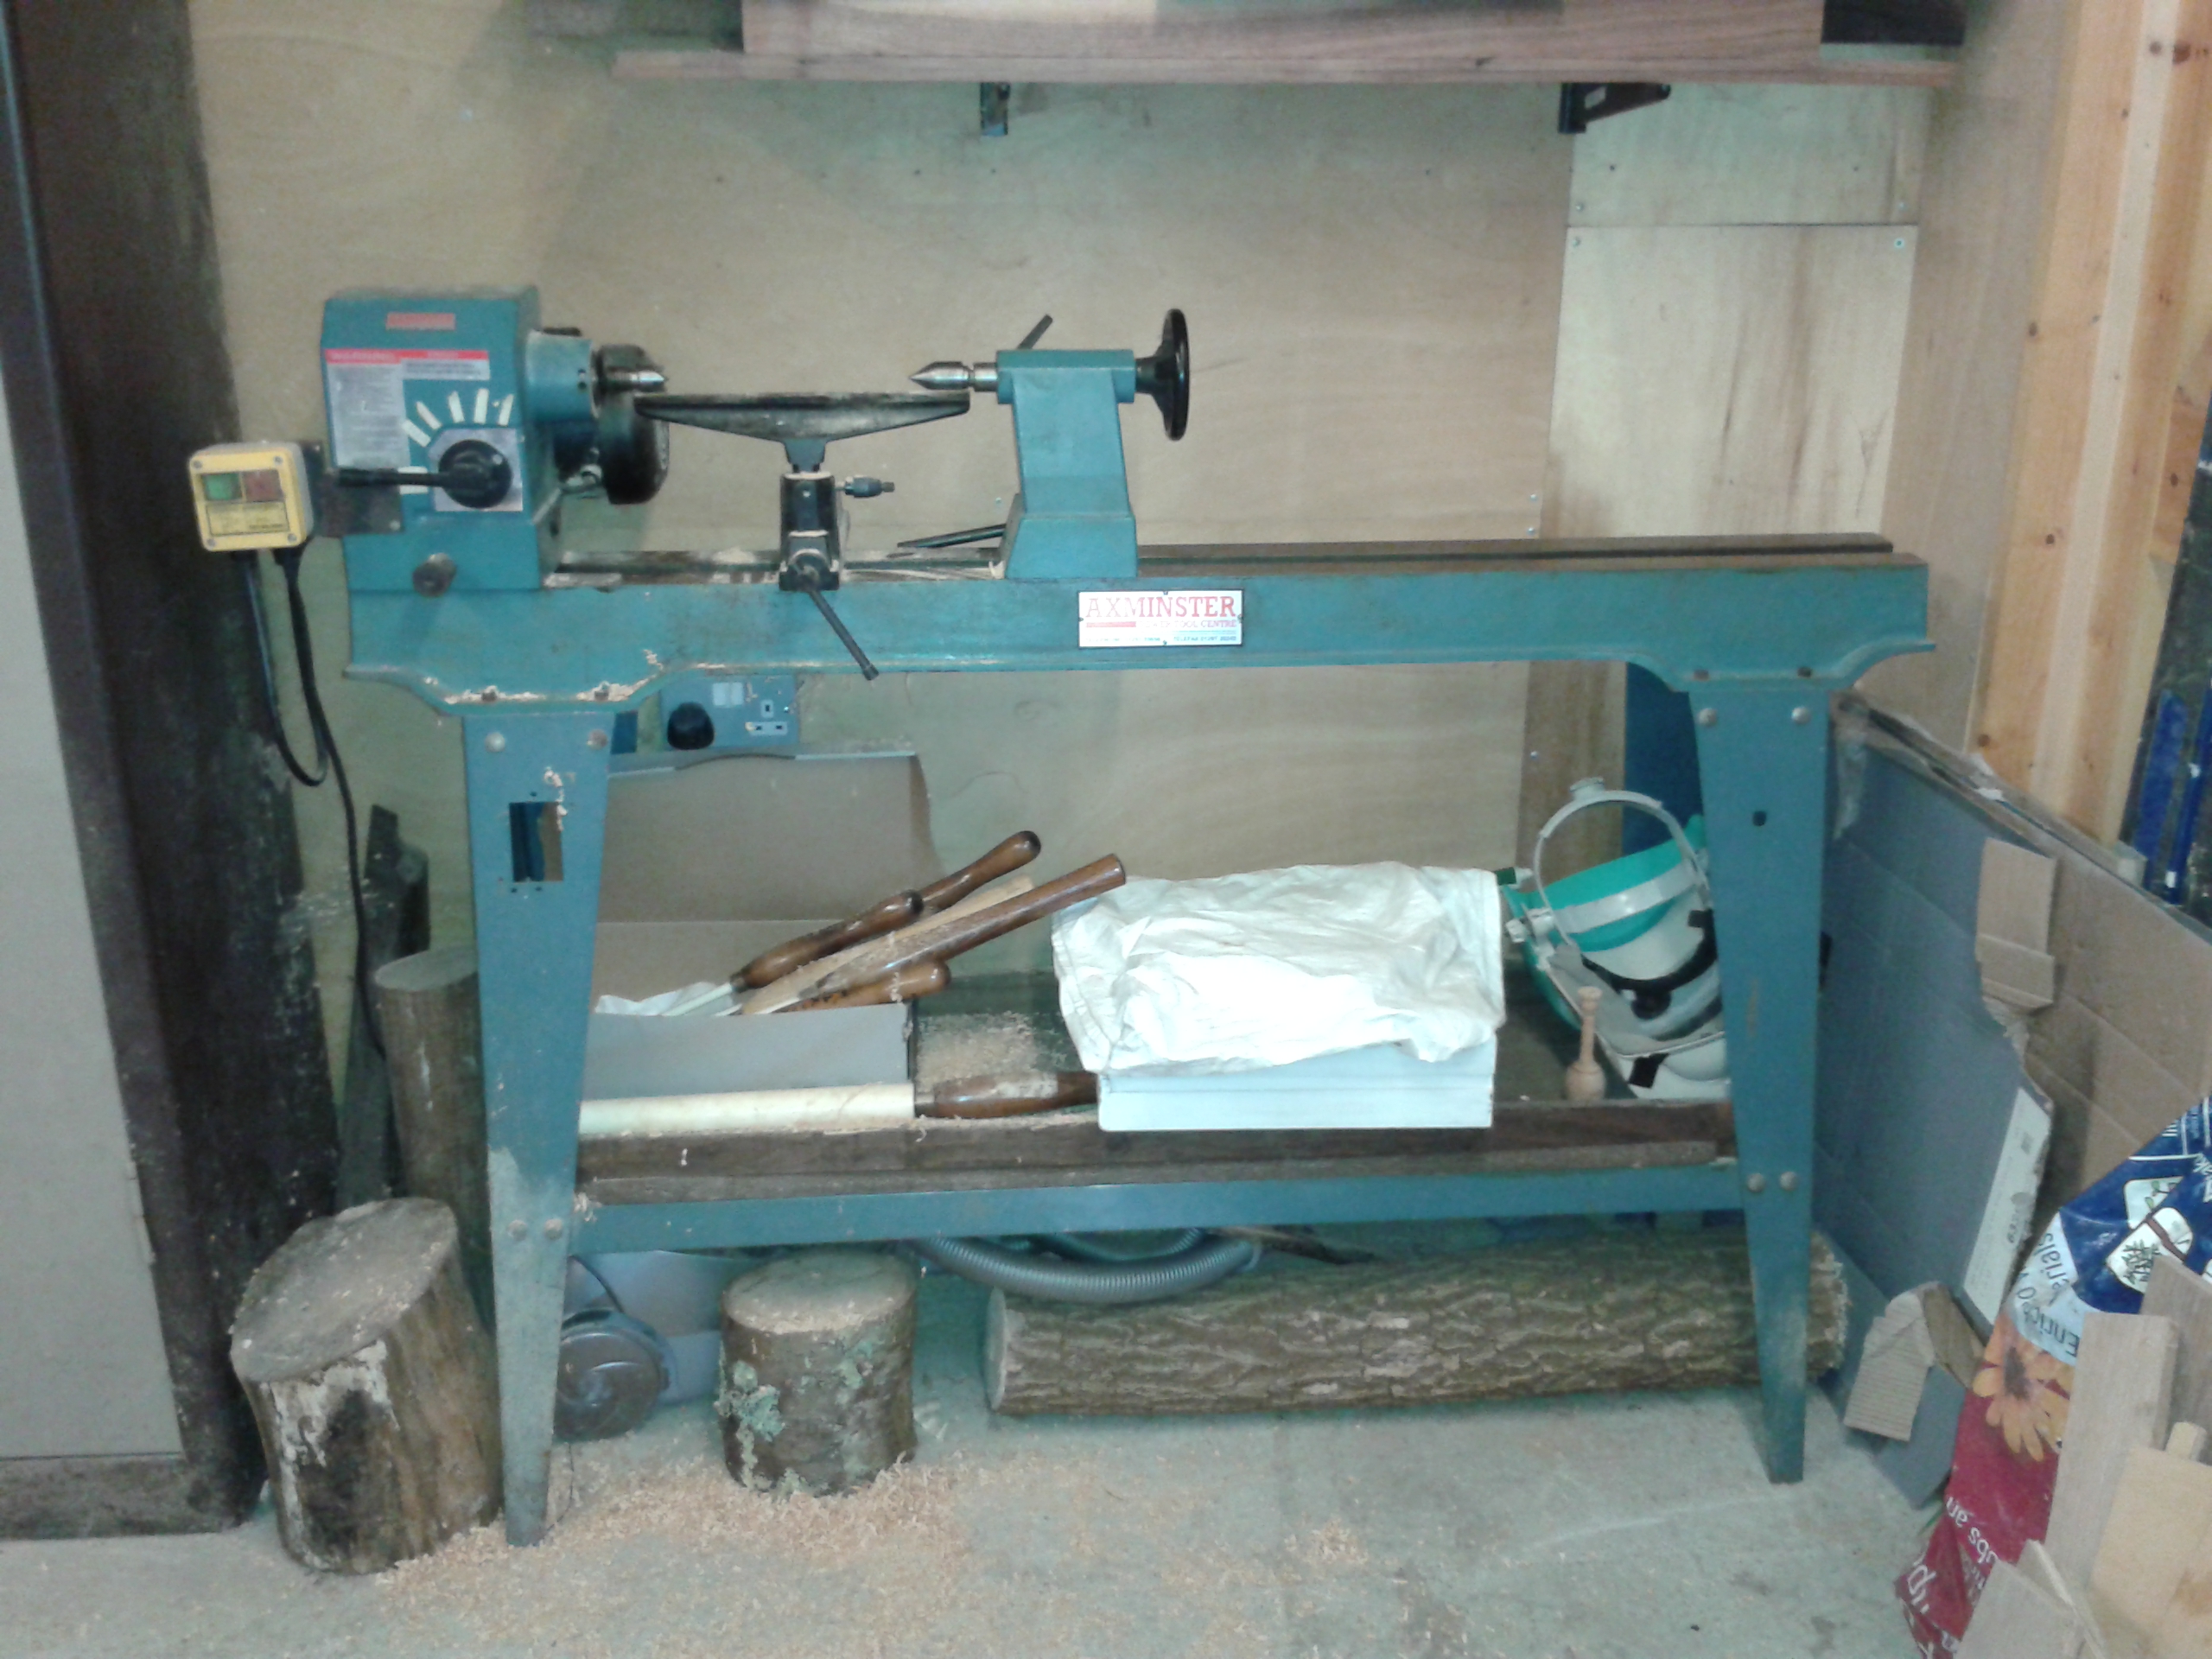
I predict progress will stop. This time last year I assembled all the materials for such a bench Just as I was about to begin work, I got a lathe. There has been no further progress on the bench and I now have quite a list of turning projects in need of completion.
LikeLike
Cheers chaps. Good info.
JAS and Paul: Maybe 4″ is a bit too much. After all, it is only a short bench. Mind you, the wood I’ve got will need quite a lot of planing to remove twist and to get it flat, so by the time I’m finished it will probably be closer to 3″.
George: I hope you are wrong, I REALLY want to build this bench. I will just have to be diciplined.
gb
LikeLike
Agreed that 4 in is probably overkill, BUT, why not? Mine is 1-1/2 in thick, because that’s what I had to work with. Planing requires stiffness and a stout bench, mortising requires thick top that will not flex etc. The two different height mentioned is a good idea, since both operation I just mentioned required slightly different heights to work better (less fatigue, better control).
But in the end it is your bench,, make it suit yourself and how you work. I get around the height issues by using a Moxon vice and a small Bench-On Bench (a Bob bench 🙂
Looking forward with what you come up with.
Cheers
Bob
LikeLike
A couple of thoughts on benches: Roubo’s are in fashion and are a good solid work bench but there are other “types” that work as well. Same story with leg vises and end vises, wagon or other. I’ve found leg vises “fiddly” and not worth the effort, a good vintage English QR vise works as well and maybe better than a leg vise and are a lot less hassle both to install and use. End vises are not worth the effort, there are better ways to hold work flat on the bench top.
For a small bench, like the one you plan, an English style with a front apron might work better than a Roubo with a deadman, BTW, been there done that. My current bench has French bones but English skin and is a larger bench. It works great but when I build a smaller bench, and I will, it will lose the French bones and I will just build a small English Joiner’s bench.
BTW, if you build a Roubo I know it is fashionable to dovetail and through mortise the legs but there is no structural advantage over a pegged housed M/T and there are some downsides to the joint in bench maintenance.
My bench mantra is: Build it solid, heavy, simple, and quickly, then go make furniture.
Good luck on the build.
ken
LikeLike