

I have made a couple of marking gauges recently, both out of walnut offcuts. The one on the left is a centre gauge, for marking the centre line down the length of narrow stock of varying widths. One simply twists the gauge until both pins are in contact with the side of the work piece, and then by dragging the tool down the length of the wood, the marking pin scribes a centre line.
 The gauge on the right is for marking out very close to the edge of the workpiece, for instance when marking out for hinge recesses. Both gauges are very simple to make and consist of nothing more than what was lying around the shed.
 The centre gauge consists of a wooden body, two brass pins, a threaded insert and a marking pin. The marking pin is simply a machine screw, ground to a point by offering it to a grindstone at an angle whilst spinning in the chuck of a cordless drill. The brass pins are superglued into the body, ensuring that they are perpendicular to the wood, and parallel with each other. The marking pin and the insert go right through the body, so that the amount the pin protrudes is adjustable by turning the screw head with a screwdriver. Needless to say, the marking pin must be exactly midway between the two brass pins for the gauge to work correctly.
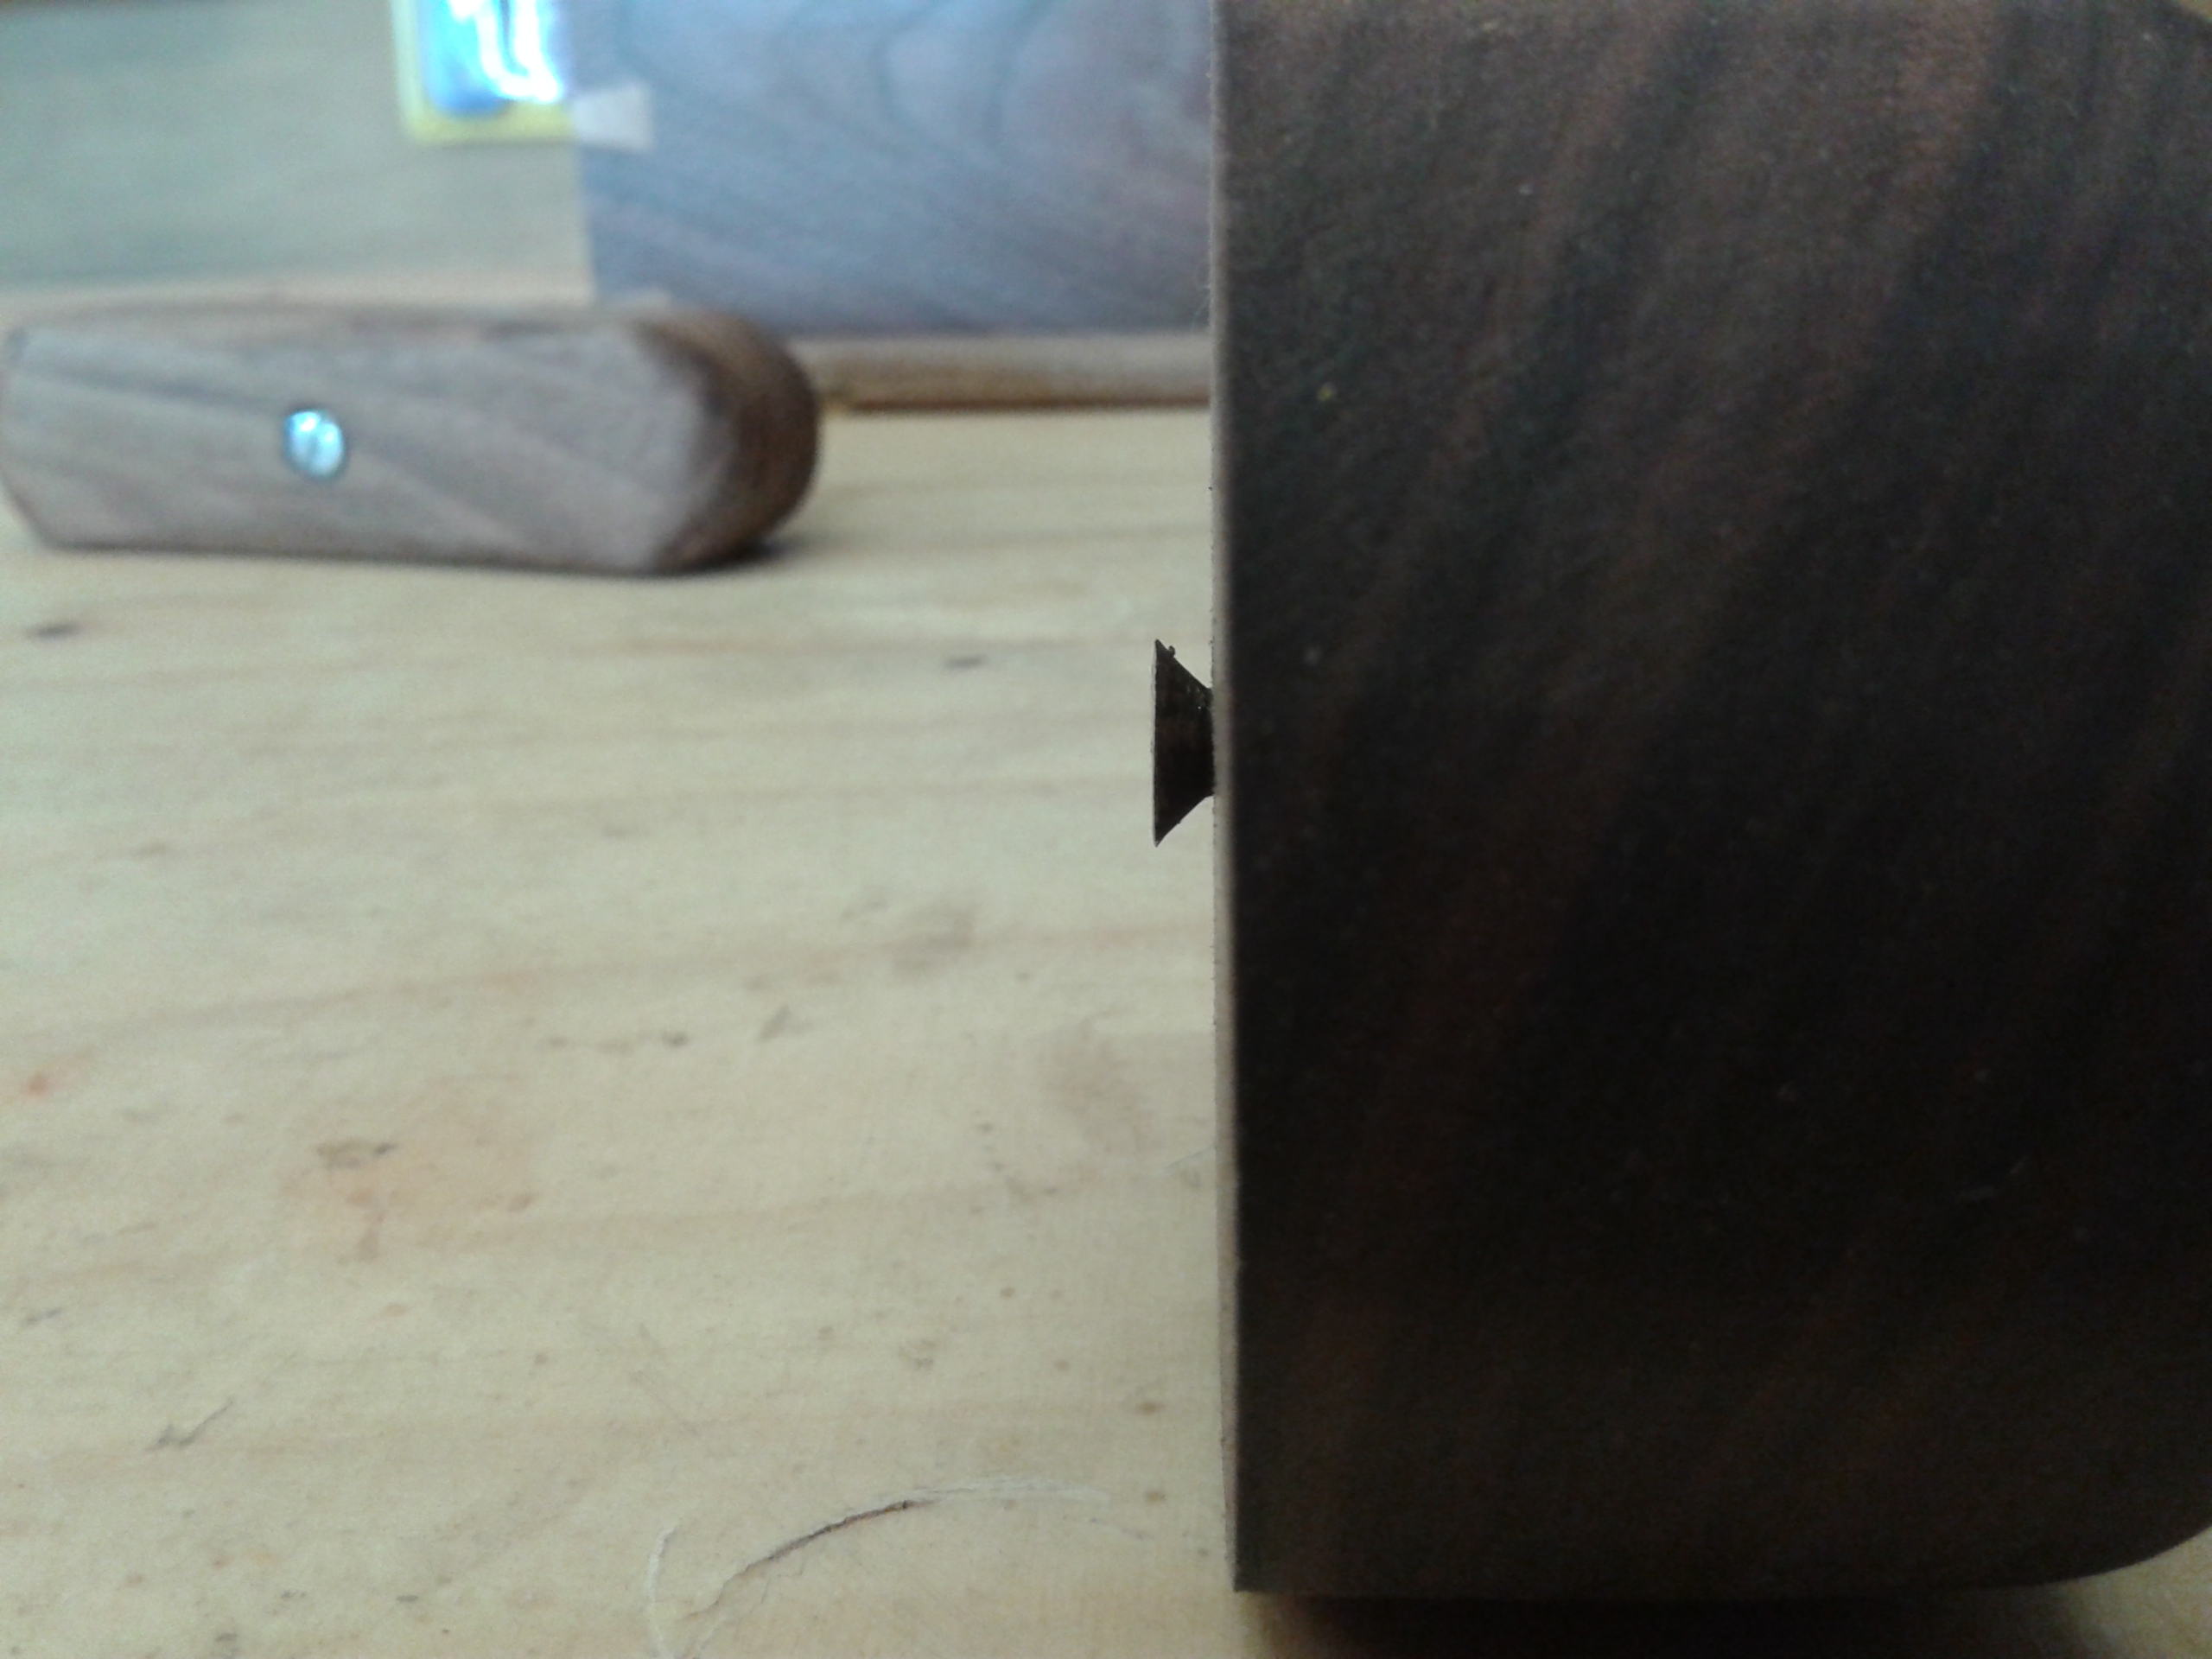 The circular marking gauge is even simpler. It consists of a circular lump of wood, shaped to fit the hand, and an old wood screw, filed down so that it has sharp edges. The wood is drilled in the centre to take the screw, and the gauge is adjusted by turn the screw with a screwdriver. With the head filed down, the screw acts as kind of cutting wheel.
 Both gauges are finished with a coat of boiled linseed oil to seal them, and they just about fit into the box I made for my layout tools.
I’m going to need a bigger box at this rate.


Leave a comment