
With the two winding sticks planed to their final dimensions, it’s time for the inlay.

I chose ebony and maple inlay, to provide a nice contrast. This will make it easier to sight up any twist when using the sticks. Both sticks will have an ebony centre dot, so that they can be placed roughly centrally on the workpiece. This will ensure that any twist shown by the sticks will not be due to balancing issues.
 One of the sticks will have a strip of ebony running along the top, and the other will have two tabs, equidistant from its middle. I used the hinge trick of roughly dimensioning a small piece of ebony and then hammering it through a hole in a hinge to create dowels. It was then a simple matter of boring a hole through the centre of both sticks, superglueing a dowel in each, then sawing and planing them flush.

For the ebony strip, I did not have a pice of ebony long enough, so I had to use three shorter pieces. I cut a rebate, using a knife, along the top of the stick, then glued the inlay in position with wood glue. The inlay was held in place with masking tape until the glue was dry, then I could plane it flush.
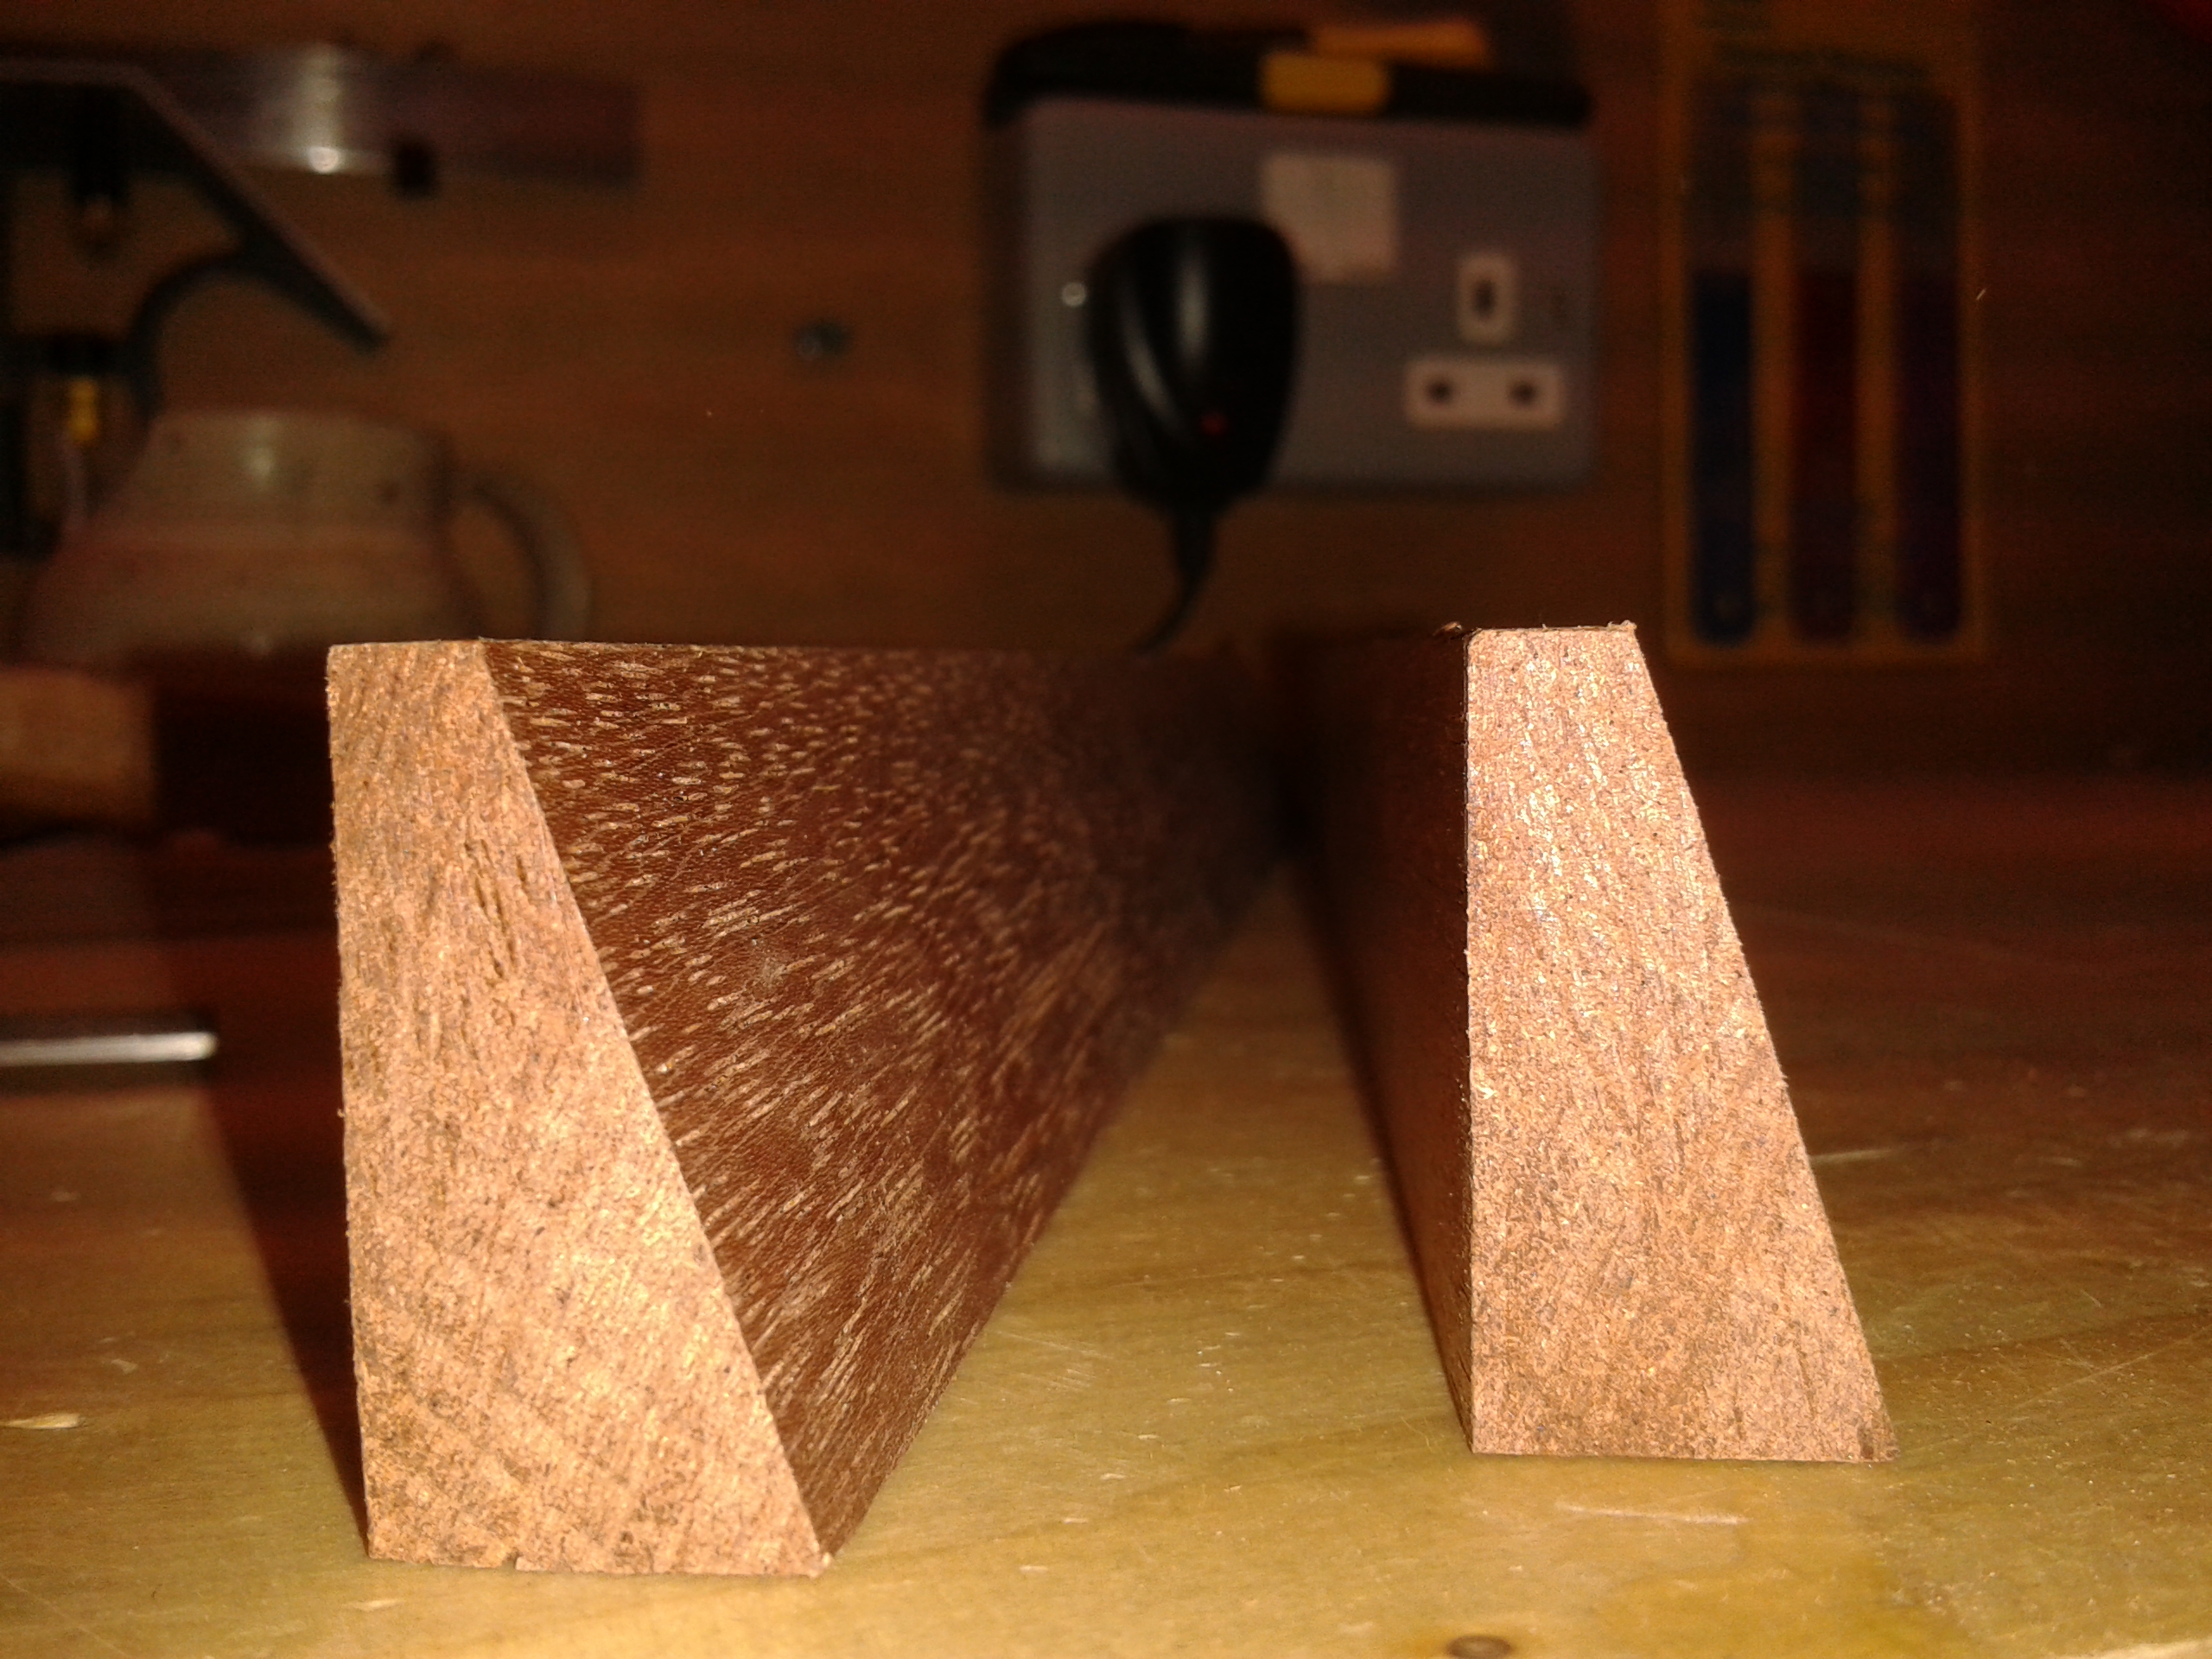
 The maple tabs were made my ripping a small piece of scrap down to size then cutting two tabs with the sides at a 1:7 angle. I did this by using my dovetail template to mark a scrap piece of wood, and then cut into that wood creating a mitre block, which when held in the vise, guided my saw when cutting the tabs.
I was able to use my shop made marking gauge to mark out the recesses for the tabs, which were chopped out with a chisel. Once glued in place, the tabs were planed flush, and the winding sticks were ready for their finish.

Leave a comment