
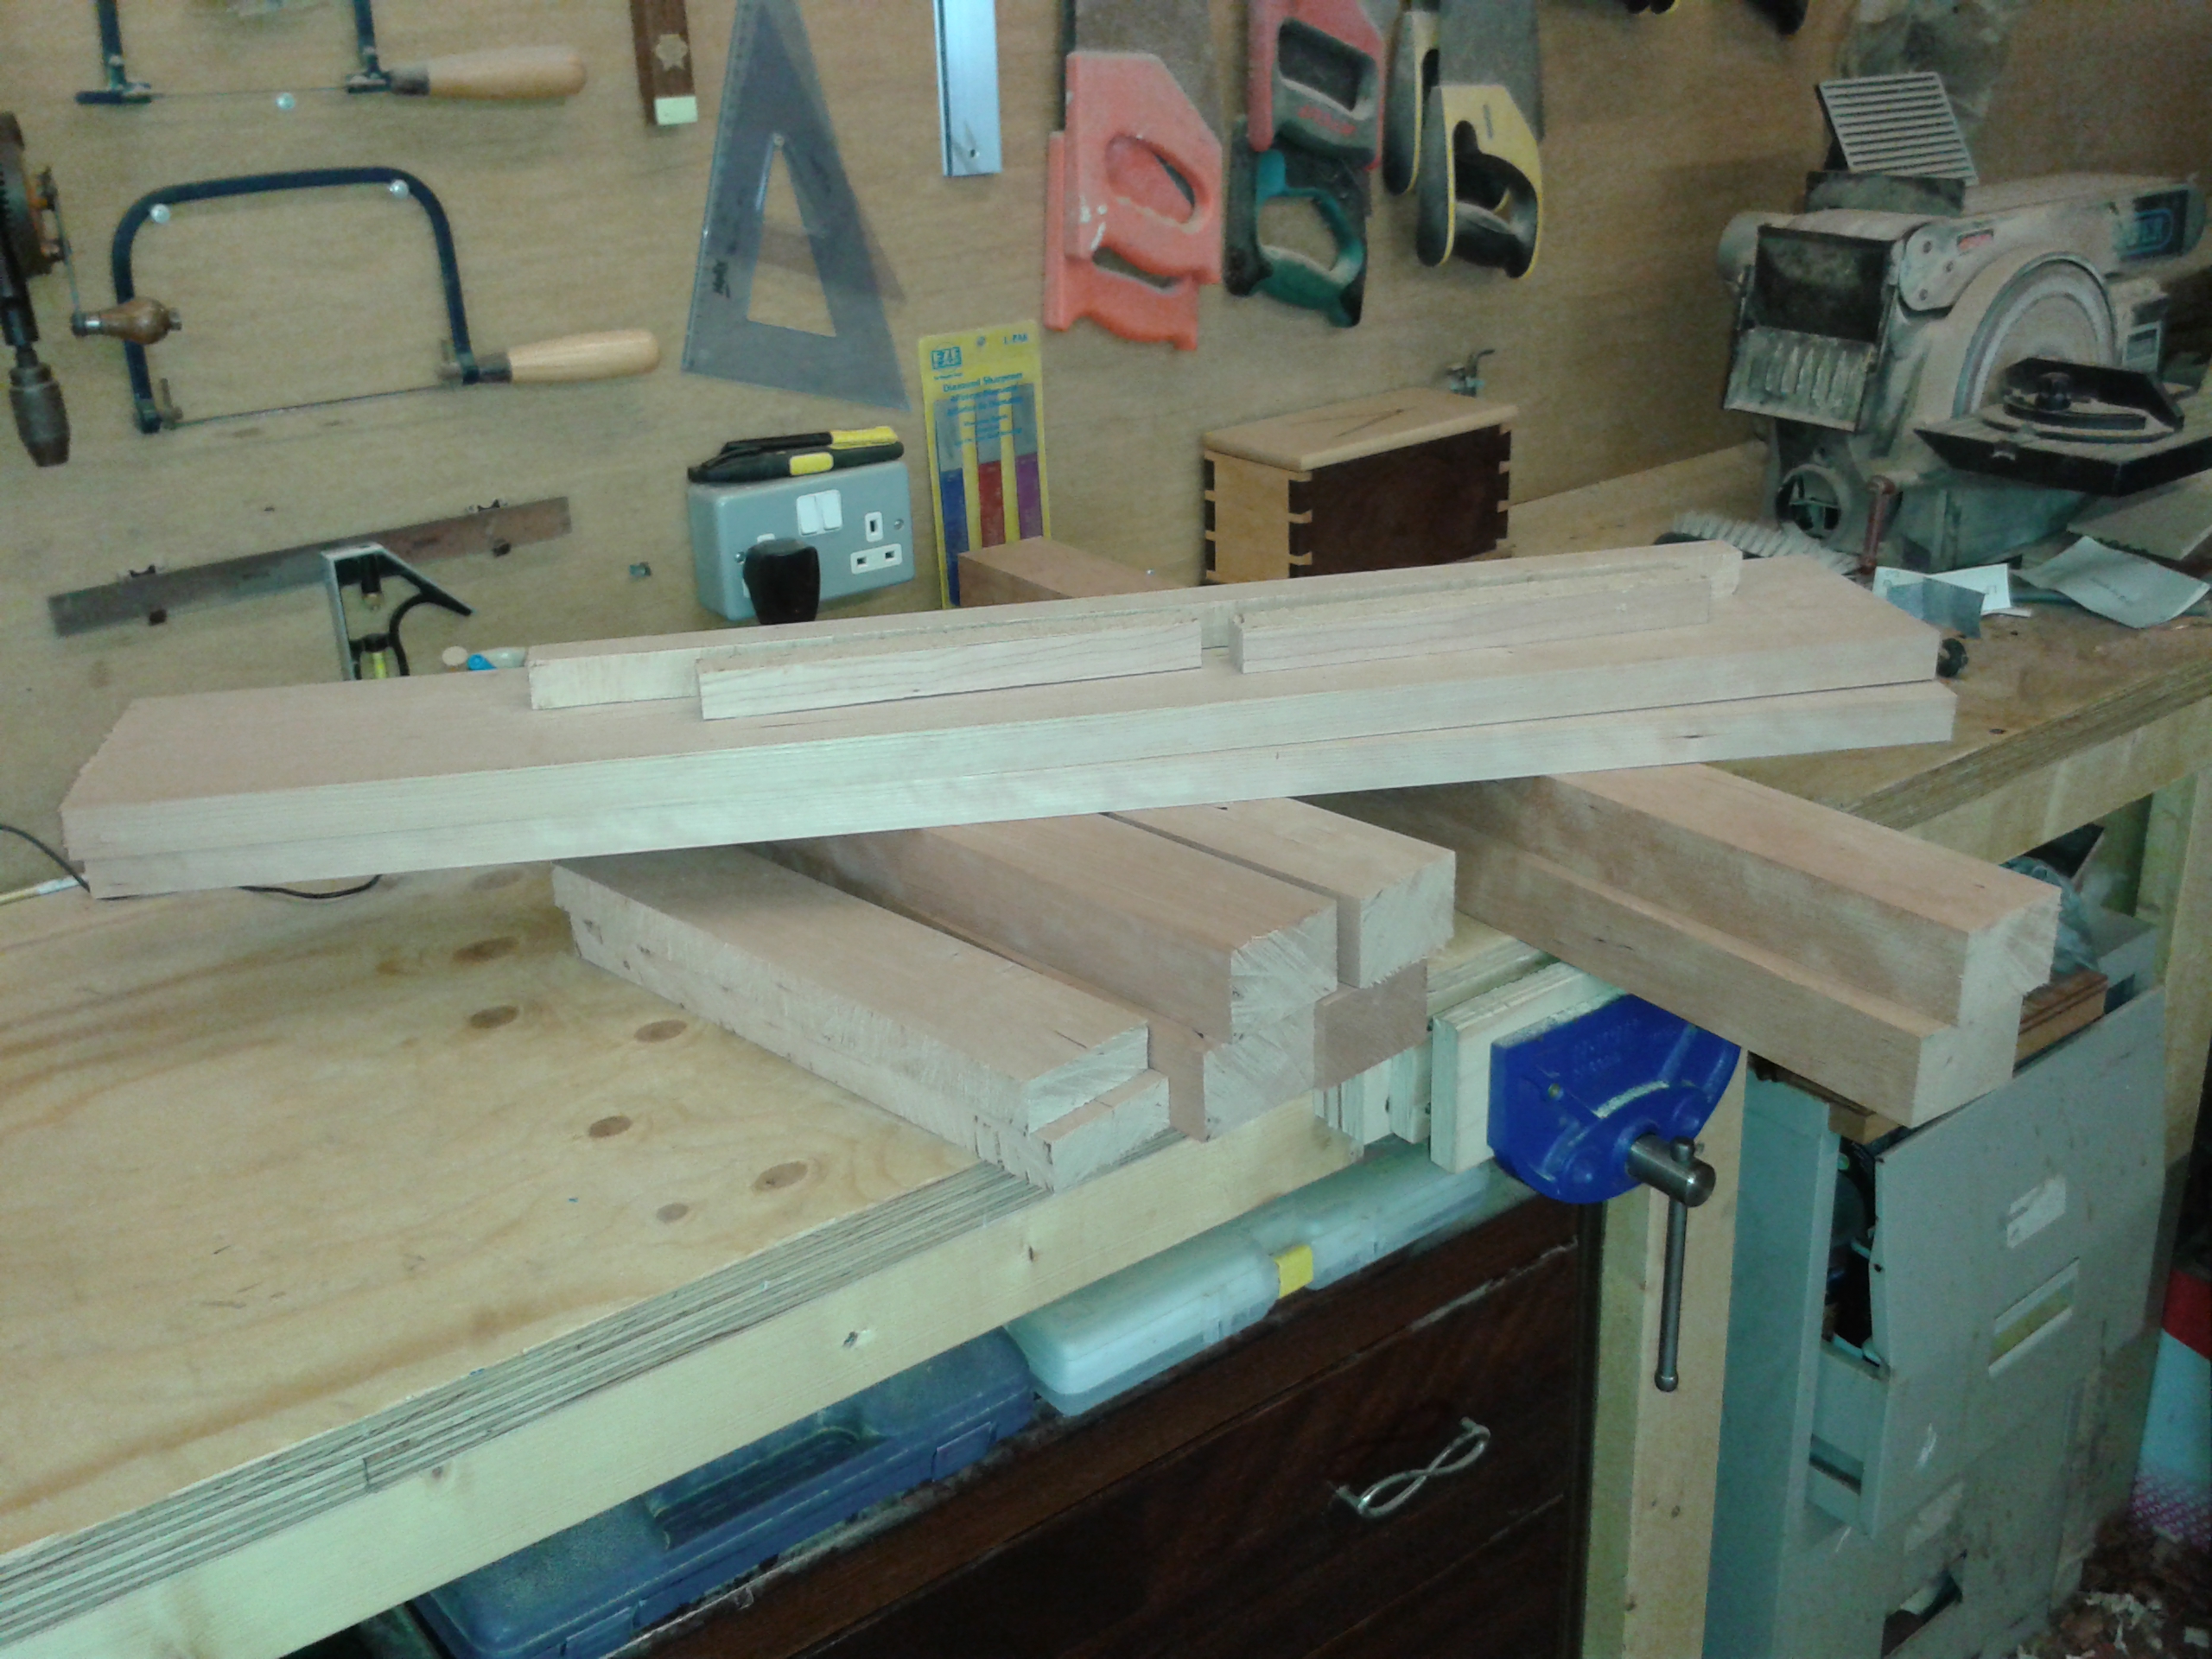
I started work on my Sawyer’s Bench this week. Last time I posted about this, all I had done was to rough cut the components from my stock of cherry (1″ by 6″ and 1½” by 2¾”). Well, now I have worked all of the components to their final dimensions as much as I can at this stage. There will be some final adjustments to make to the aprons and cleats once the subassemblies are complete.
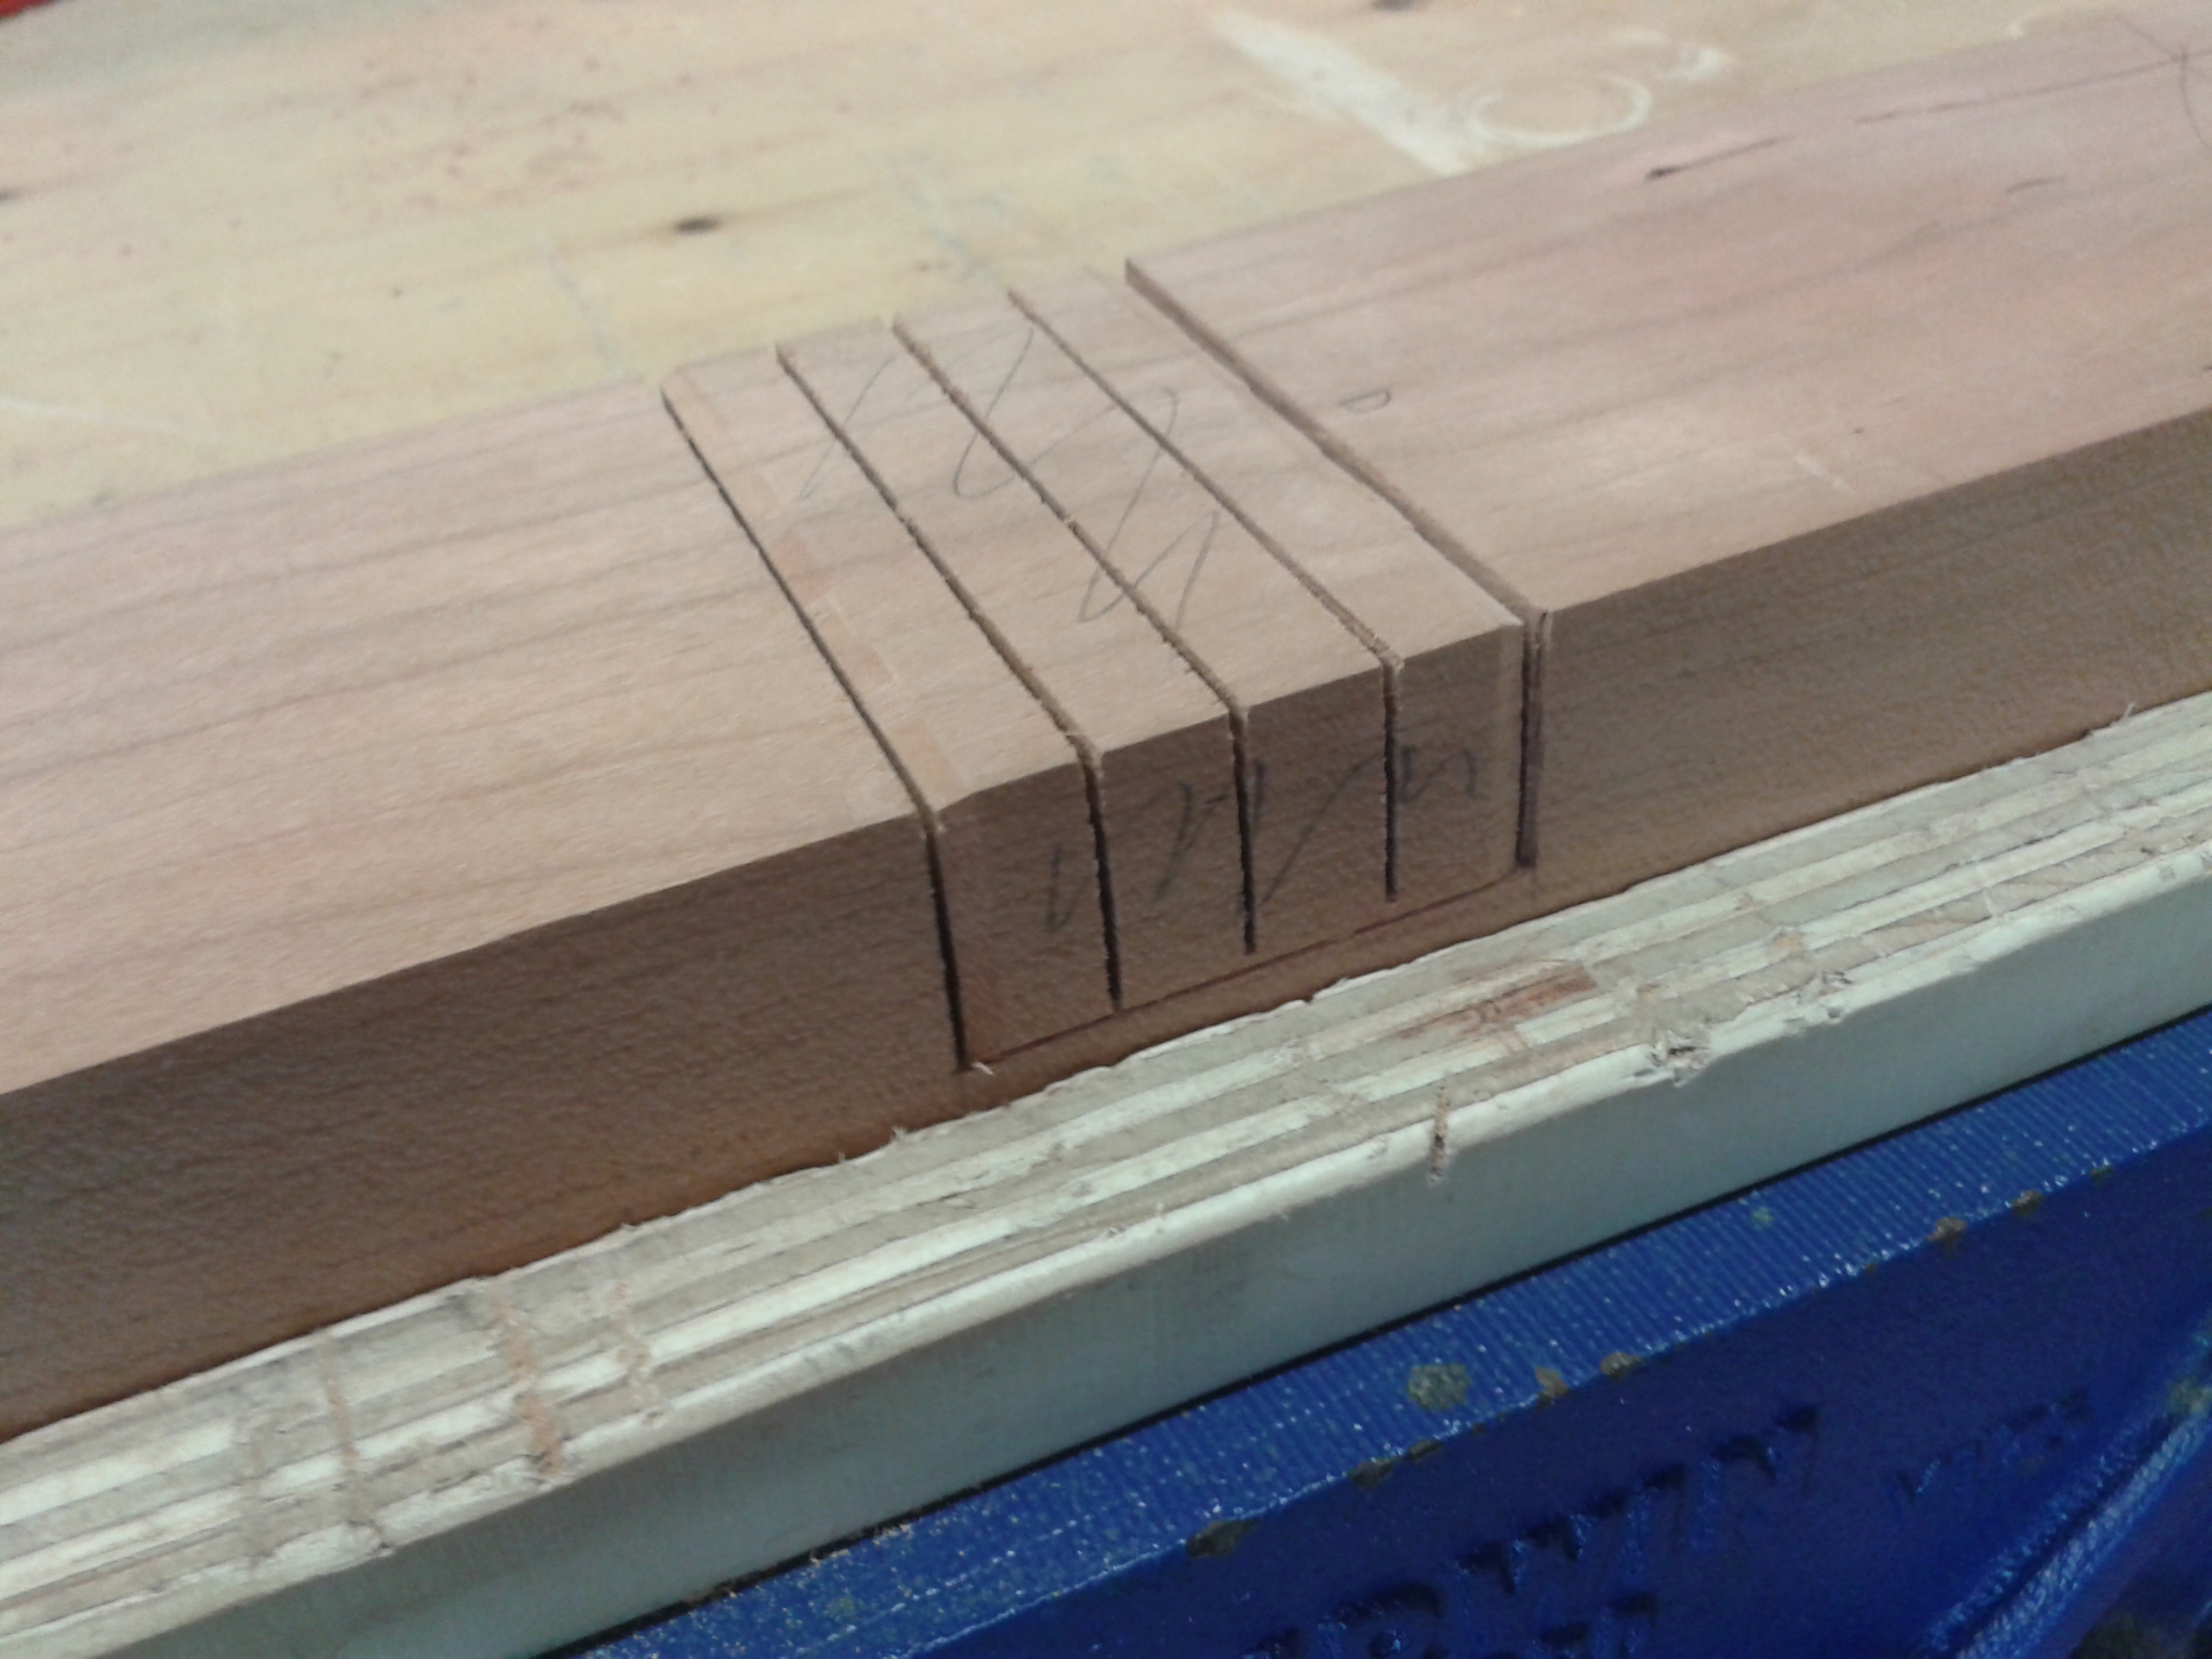
I began with the joinery for the legs and stretchers, which consist of simple half-laps. Starting with the legs, I made a mark 4″ from the bottom of each and I used the stretchers themselves to establish the width of the notch by scoring a knife line down each side. The depth, which is half the width of the leg, was established by finding the centre with my centre finder using that to set my marking gauge. No measuring required.
 I chiseled out a ‘v’ on the waste side of the knife lines to establish a knife wall for my saw to follow, then made my cross-cuts, adding a few in between to make the chopping out easier. With the bulk of the waste removed I refined the depth with a router plane.
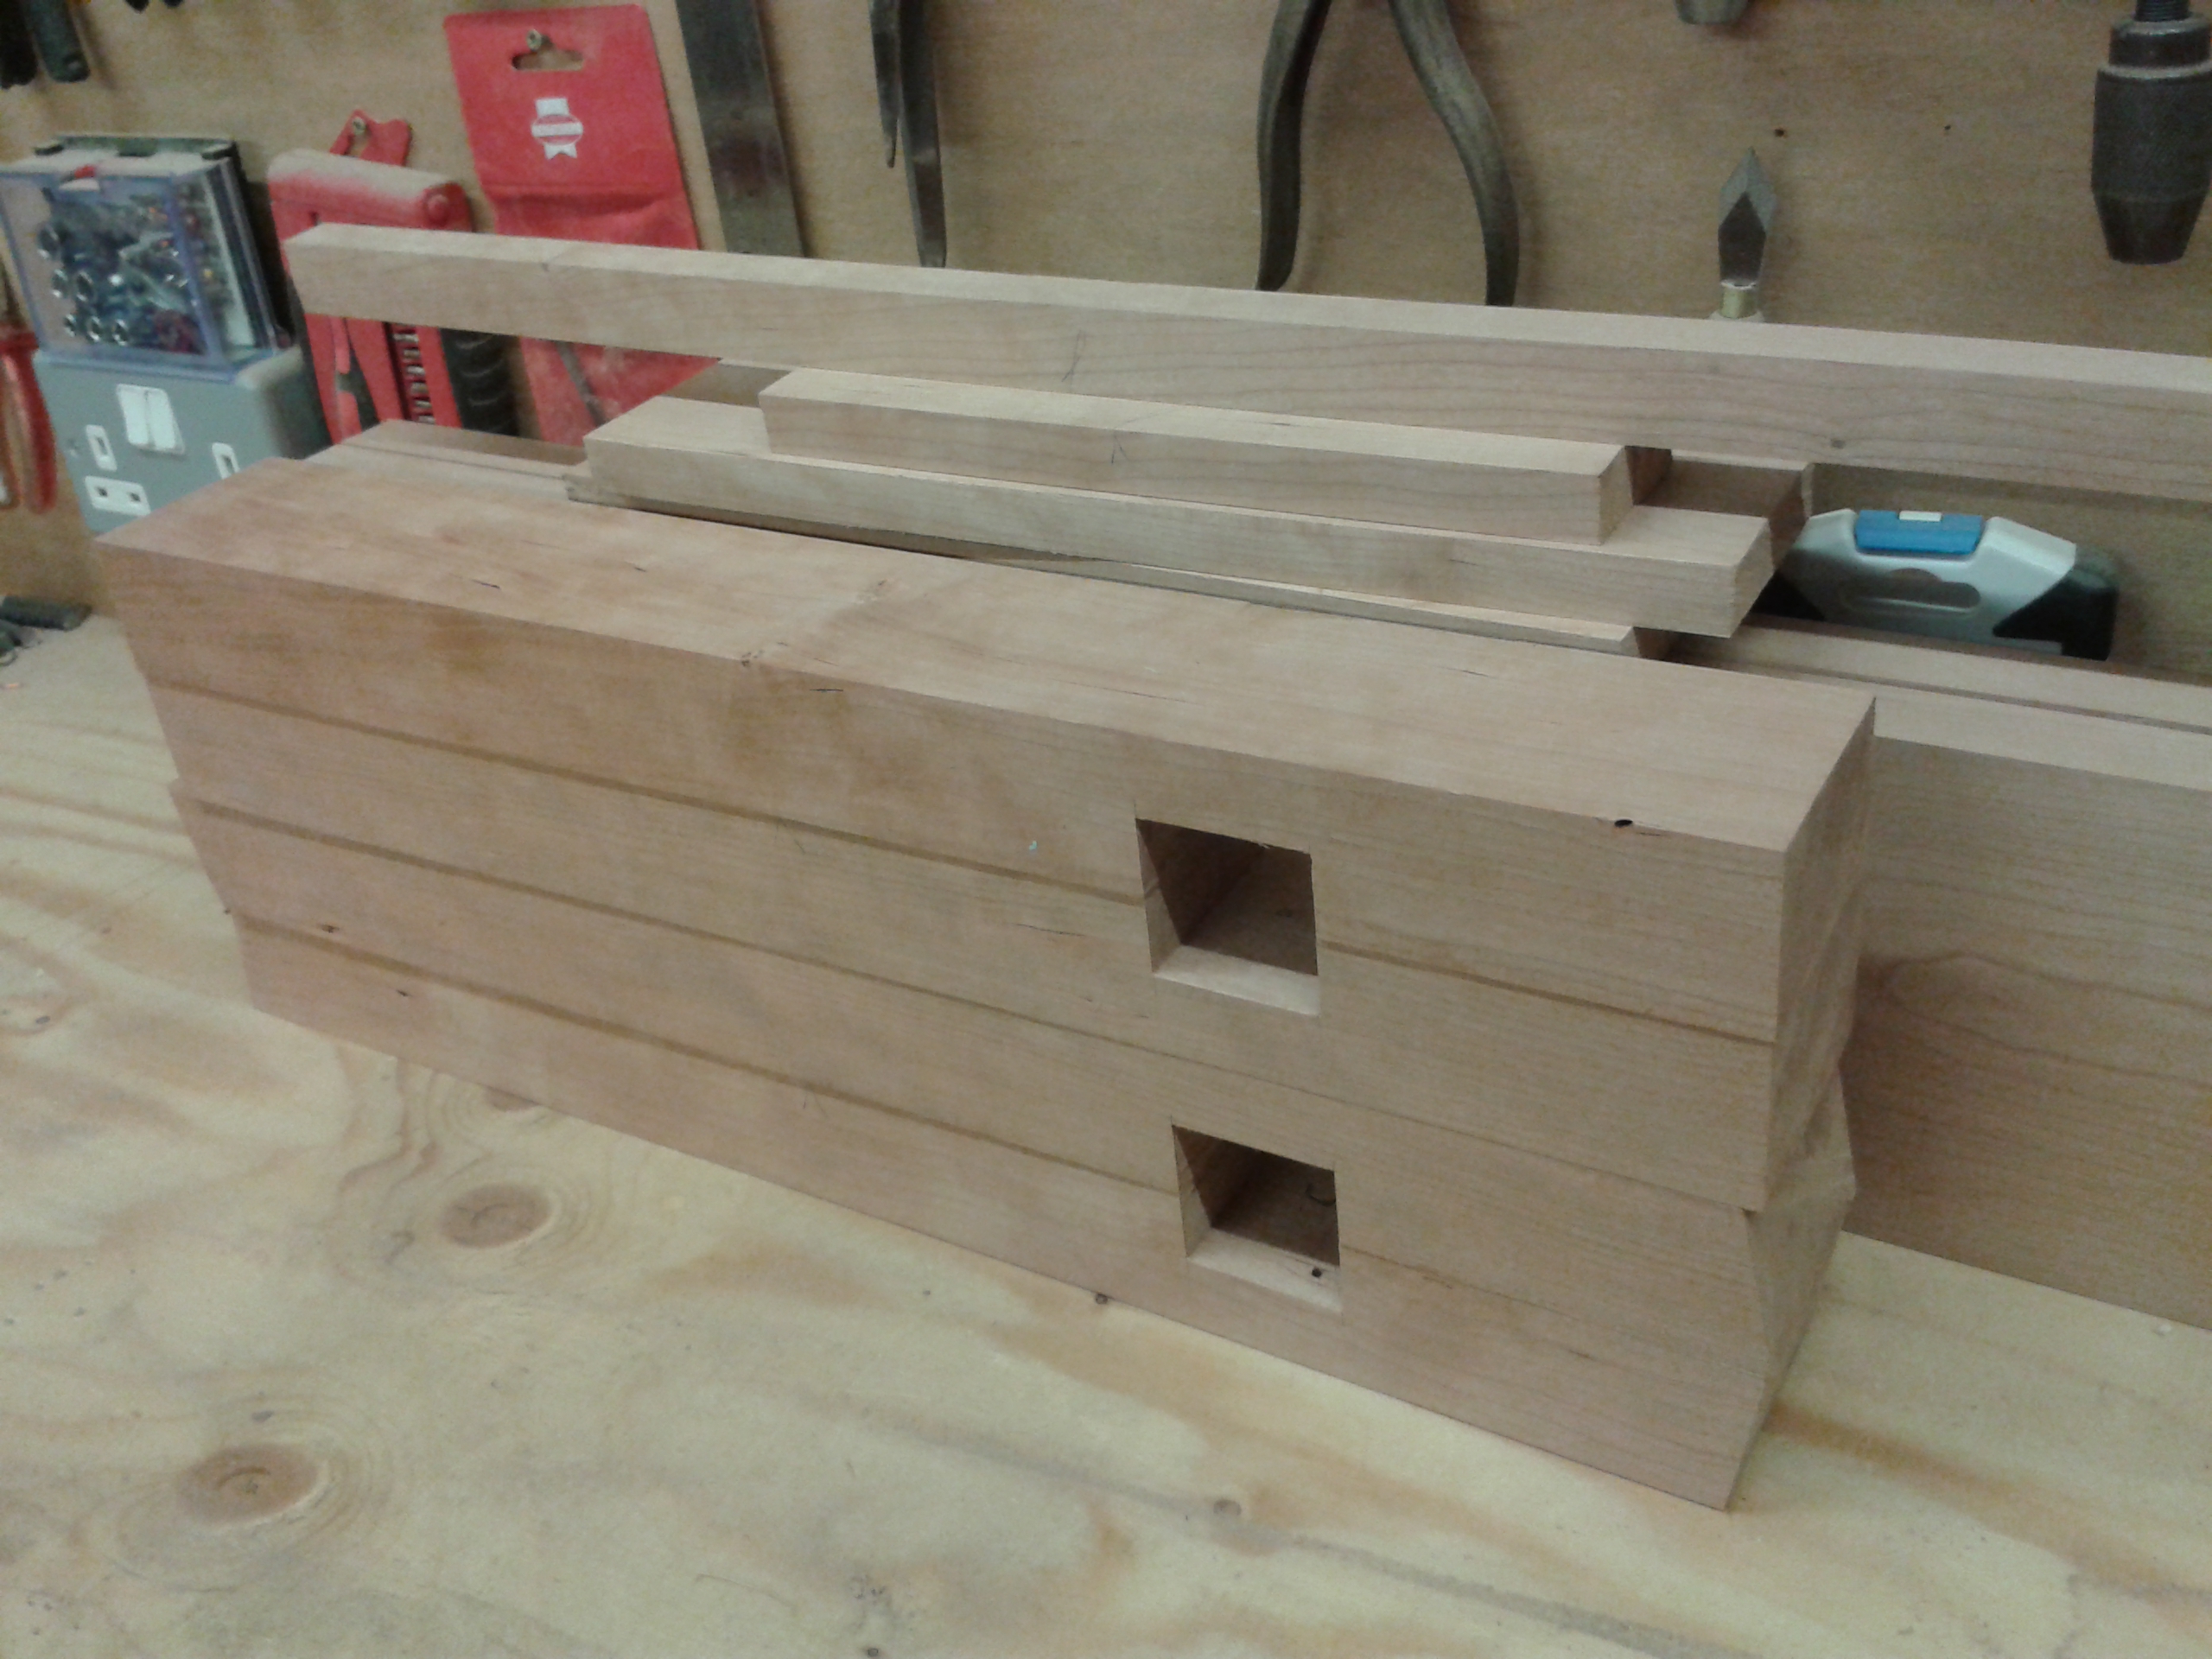
 Once all of the leg notches were done, I dry-fitted the stretchers and marked out for the other half of the half-laps. I used the legs to mark out for the width and the marking gauge for the depth. Four rip-cuts, four cross-cuts and some chisel refining, and I was ready for another dry-fit to check the joinery.
The next step is to make the half-laps that join the legs to the top boards. I think that it will be easier to cut into the tops of the legs if they are not assembled. I’ll glue and peg the subassemblies once those other joints are done.


Leave a comment