

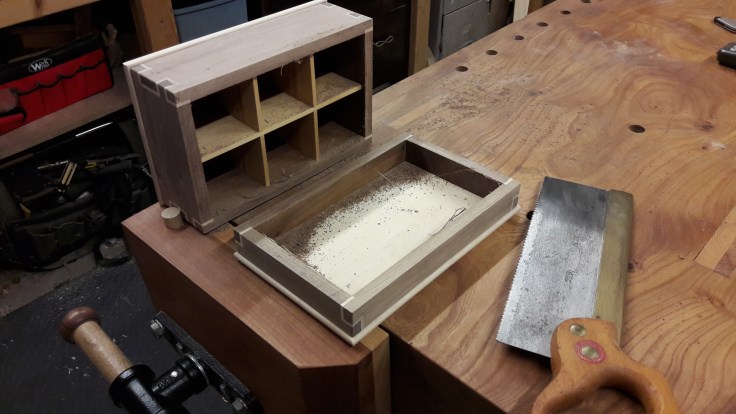
An empty box is as boring as batsh*t, so the next stage of this project was to make and install some dividers to break up the inside of the box. This meant planing down some thin maple panels, cutting notches in them so that they lock together in a criss-cross formation, and then cutting some housing dados in the side of the box.


Once that was done I could glue up the box and apply a finish to the inside.

For the finish I decided to try something a bit different. In the past I have used shellac sanding sealer for finishing boxes. This time I thought I would mix my own, which is something I’ve not tried before.
 I decided to make a 2 lb cut by mixing 2 oz. of shellac flakes to 8 fl.oz. of denatured alcohol…

…agitating it every hour or so and leaving it to dissolve overnight.

The solution was then strained through cheesecloth and decanted into a screw top jar.

I used a brush to apply the shellac at this stage, because of the tight corners, but for the outside I used a more traditional method, but I’ll cover that when the time comes.
Several thin coats over a number of hours, and then a coat of wax for a silky finish.

A final touch for the inside was to line the bottom with baize. Usually, I would leave this until the end of the project, but that would have meant fiddling with six separate pieces, once for each of the squares. Instead, I wanted it to run it under the dividers in one piece, so I took the unorthodox decision of applying it before assembly. This meant some very careful glue application.


The final touch for the outside of the box was to burn a stylised picture of a dandelion clock onto the top, with a pyrography tool. I used carbon paper to transfer the image to the wood, and then followed up with the burning tool.


Just before glueing the top on. I chamfered the edges to give it a ‘pillow’ effect…


…and then it was time to cut the thing in two.

I must admit that this was a nerve-wracking time for me, but it was simply a case of gritting one’s teeth and bloody well getting on with it. It came out ok in the end.
Next time I’ll show the finishing touches to the box, as well as the contents.

Leave a comment