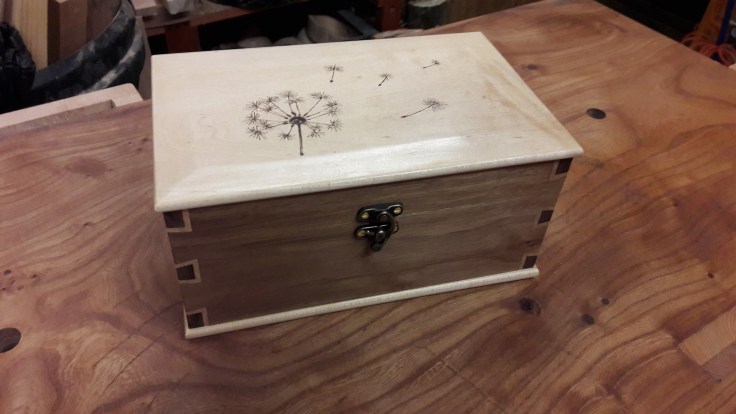
To finish things up with the jewelry box, I fitted the hinges and put my maker’s mark on the base so that I could apply the finish to the outside of the box.
I used my homemade shellac, but this time I applied it in several thin coats using a ‘rubber’, which is a pad made from a lint free cloth, carefully folded around some cotton wadding. The shellac can be added to the rubber with a pipette, and it goes off very quickly so several coats can be applied in an hour.


I finished with a light coat of wax, and the box was done. Time to turn the contents.
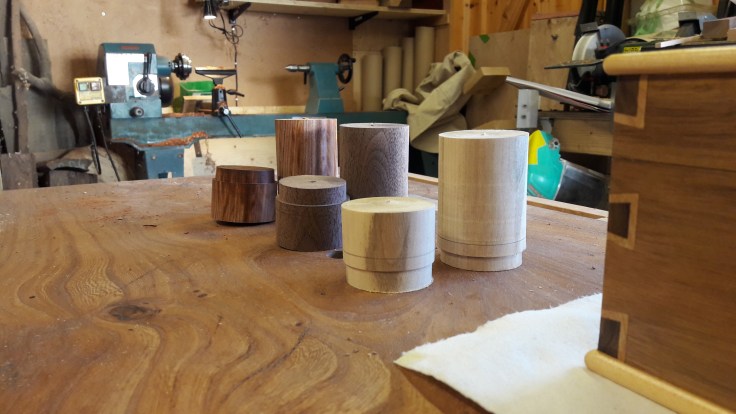
Having roughed out three blanks – walnut, sycamore and kingwood – I parted off and hollowed out the lids, sanded through the grits and finished with wax. Then I hollowed out the boxes, checking that the lids fitted snugly and, again, sanding and finishing with wax.


I decided to burn a little image onto the top of each box to match the image on the jewelry box lid. Then I returned the lids to the lathe to sand and wax the outsides.


Finally, I flipped over each box so that I could finish the bottoms.


So, there we have it: one jewelry box with three lidded box accessories…


…all ready to be packed up and delivered.