
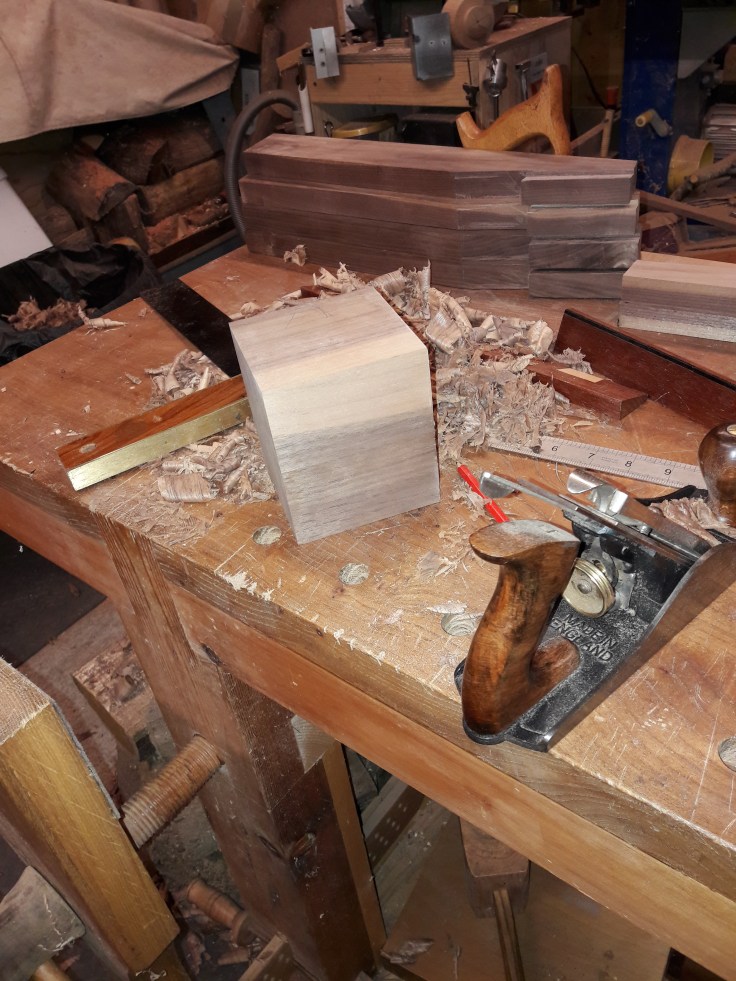
Ok, so where were we? Oh yes, a hoofing great cock-up. With the original hub basically a write off, I went ahead and started on another one. I went with just walnut this time, two pieces glued together. The laminated walnut and cherry of the original didn’t really fit in with the feel of the piece (at least that is what I am telling myself).
I decided to complete the various operations for the new hub in a different order. As you might recall the first hub: the walnut and cherry hub; the one that had gone so smoothly; the one with the perfectly fitted joints; had a very definite wobble when fitted on the screw. This was because my brace and bit skills are not all that they might be. I must have been slightly out of square when I bored the hole, not enough to show on a smaller piece, but plenty enough to show up over 4½”.
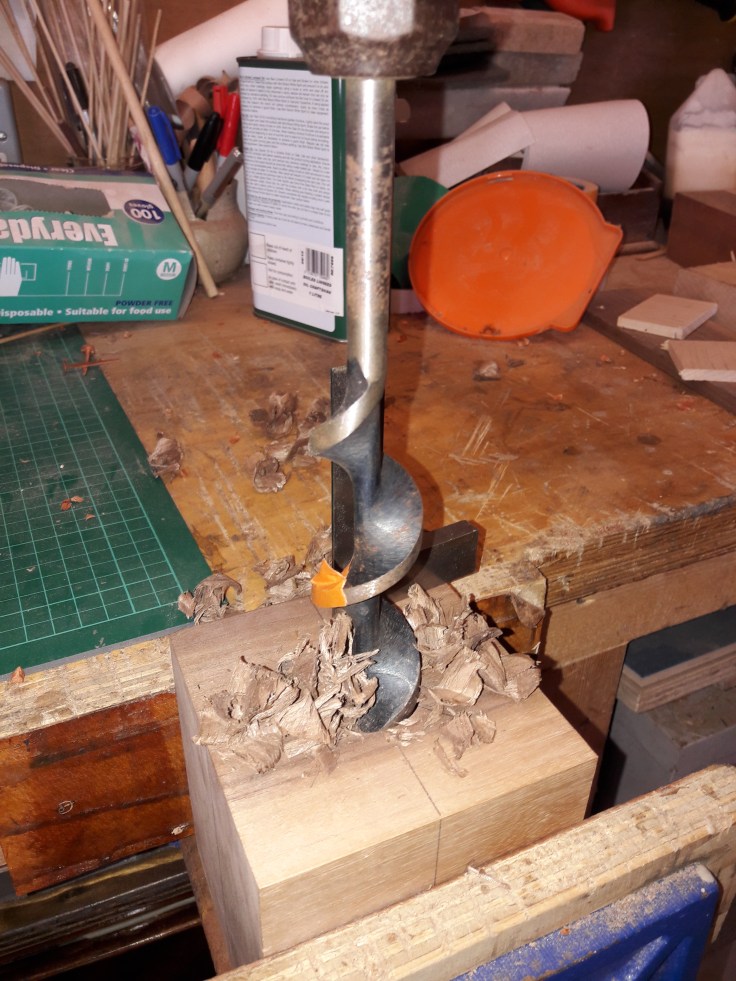
I thought long and hard about this problem, and I decided that with this new hub I would bore and thread the hole first. Then, by fitting it onto the screw I could pop it on the lathe between centres and square up the top and bottom faces so that they were perpendicular to the screw.
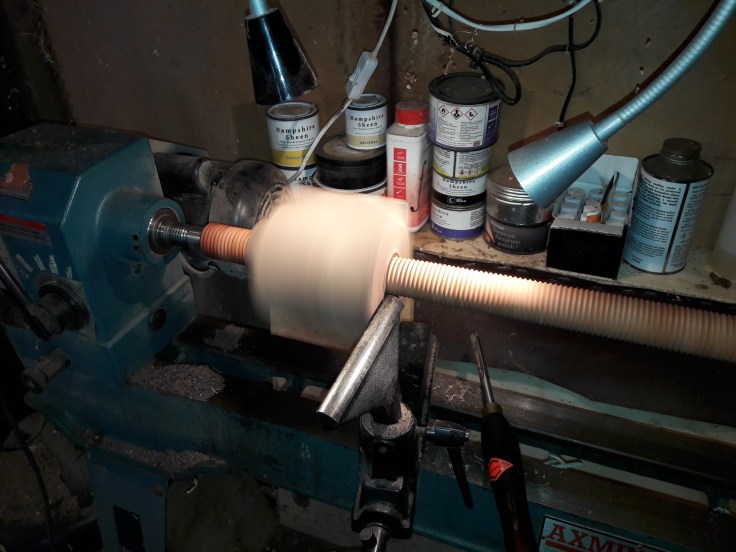
Then, I took it off the lathe, marked out and cut the dovetails, then it was back on the lathe to be turned to round. A much more pleasing result.

The remaining components to prepare were the cross-members, and the seat. Turning to the seat first, I cut out two wooden discs, one of ply for the seat itself, and one of cherry for the seat hub.

The seat hub was bored and threaded…

…and then shaped on the lathe in the same way as the main hub.

Then I could move onto the cross-members, marking out the joinery using the legs as a guide.

The joinery for the cross-members consists of mortise and tenons into the legs, and a half-lap where they cross in the middle.


Finally, I shaped the legs, making several depth cuts before chopping and paring the waste away with a chisel.


A bit of time spent with files, scrapers and sandpaper, and I could declare the woodworking phase of the this project, done.


Leave a comment